Filipino Leche Flan

A staple dessert dish in the Philippines is leche flan, a creamy custard that I’d say is most comparable to creme brûlée. After telling my aunty, who lives in the Philippines, of my noble but catastrophic attempt at making this custard, she laughed at first, but later insisted that I learn her technique in making this dessert before I left for Hawaii. It’s so simple.

Image

Ingredients

Custard

12 egg yolks

1 can or 12 oz. condensed milk

1 can large evaporated milk

1 tbsp. fresh calamansi juice or lemon juice (any citrus, really)

1 tbsp. vanilla extract (optional)

Caramel

3/4 cup sugar

2 tbsp water

Image

Instructions

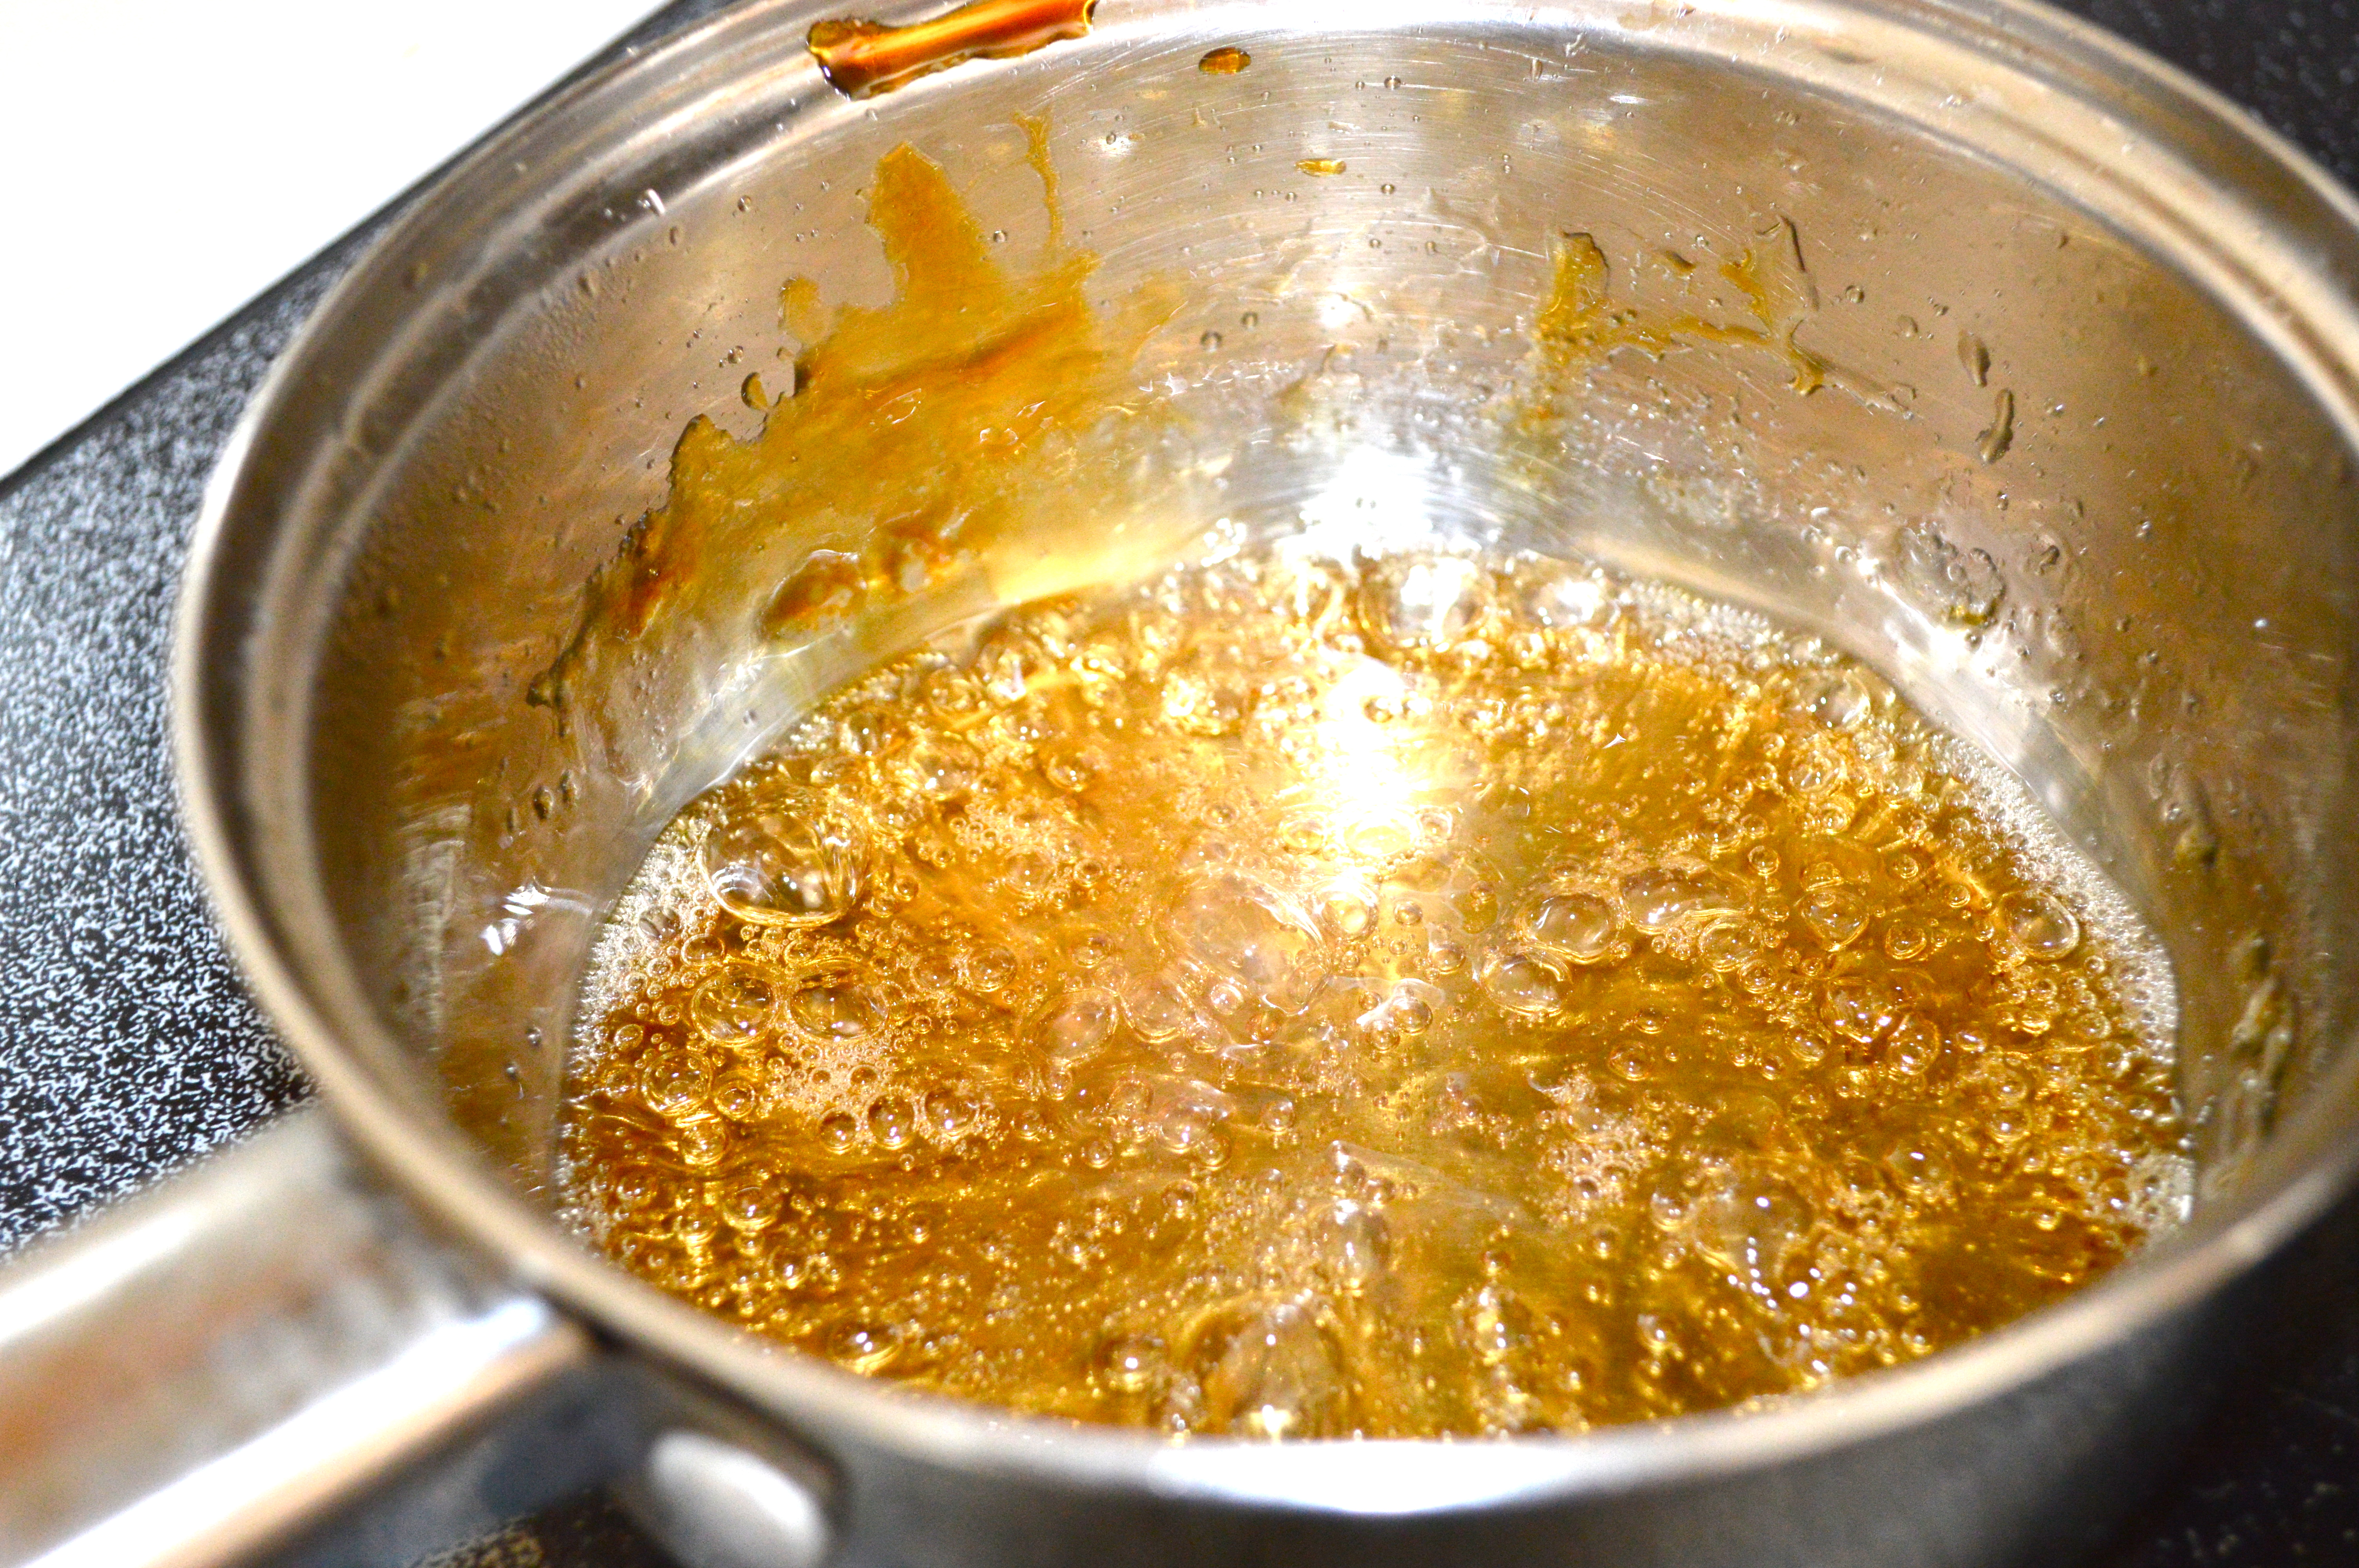
1. In a saucepan, heat water and sugar on low-medium. When sugar is dissolved and golden brown, quickly pour the sugar into each aluminum ramekin and spread evenly by tilting it using tongs (because it’s extremely HOT!). You don’t have to use the container I used– a porcelain ramekin (which is more widely used here) will do the job!

Image

2. Separate the yolk from the white by cracking the egg open, transferring it to your hand, and ever so carefully juggling the yolk so that the white will fall in between your fingers. Do this 12 times.

3. Whisk the egg yolk, condensed milk, evaporated milk, and calamansi juice in a bowl until smooth. Add vanilla extract.


Image

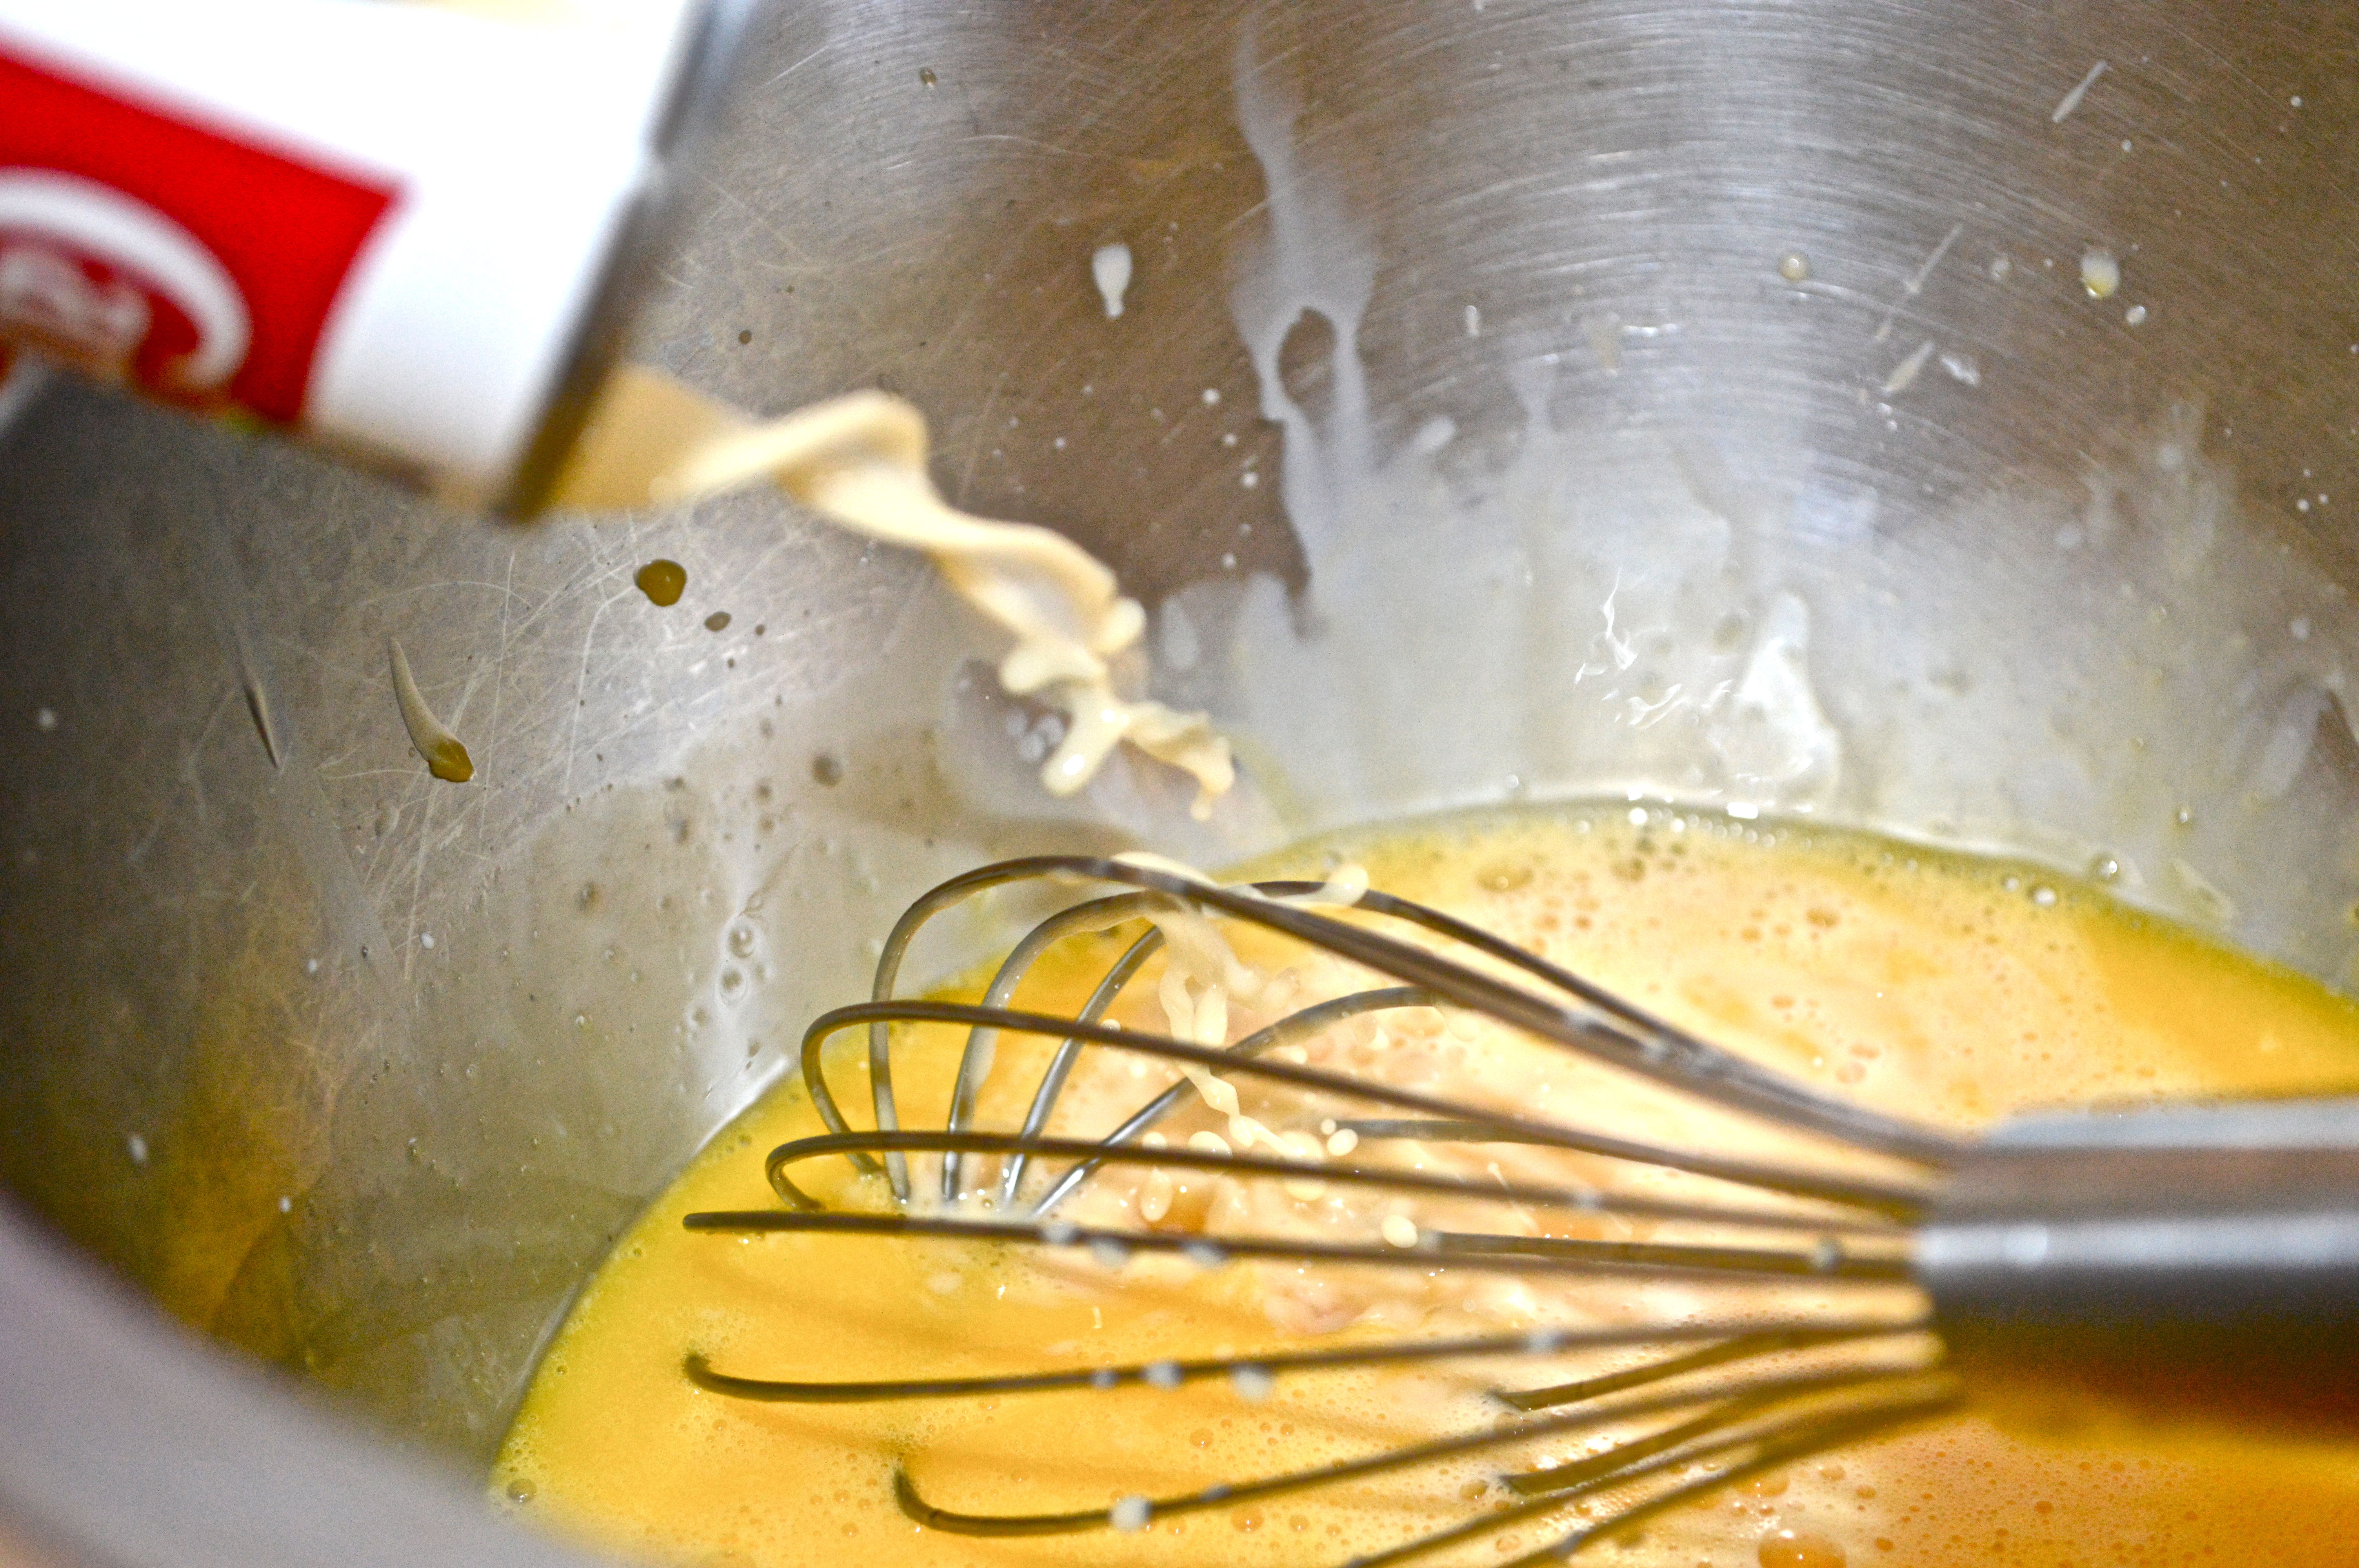
4. Strain the custard mixture using a fine sieve to get rid any undissolved particles. This is extremely important in order to have a very smooth custard.

5. Transfer evenly into the ramekins, cover with aluminum foil, and place in a steamer for 45 minutes. Make sure the steamer is boiling at medium to low heat.

Note: If you don’t have a steamer, you may bake it in a water-bath inside a pre-heated 325 degrees oven. Basically, you fill a large tray about half way with water and place the ramekins on top.

6. Check to see if it’s done by pressing gently on the top of the custard and if it’s firm and a little bouncy, it’s perfect. You do not want to over cook these! They become hole-y inside. After, leave to cool and when ready to serve, just go over the sides with a knife, put a plate over it, and flip!

Image

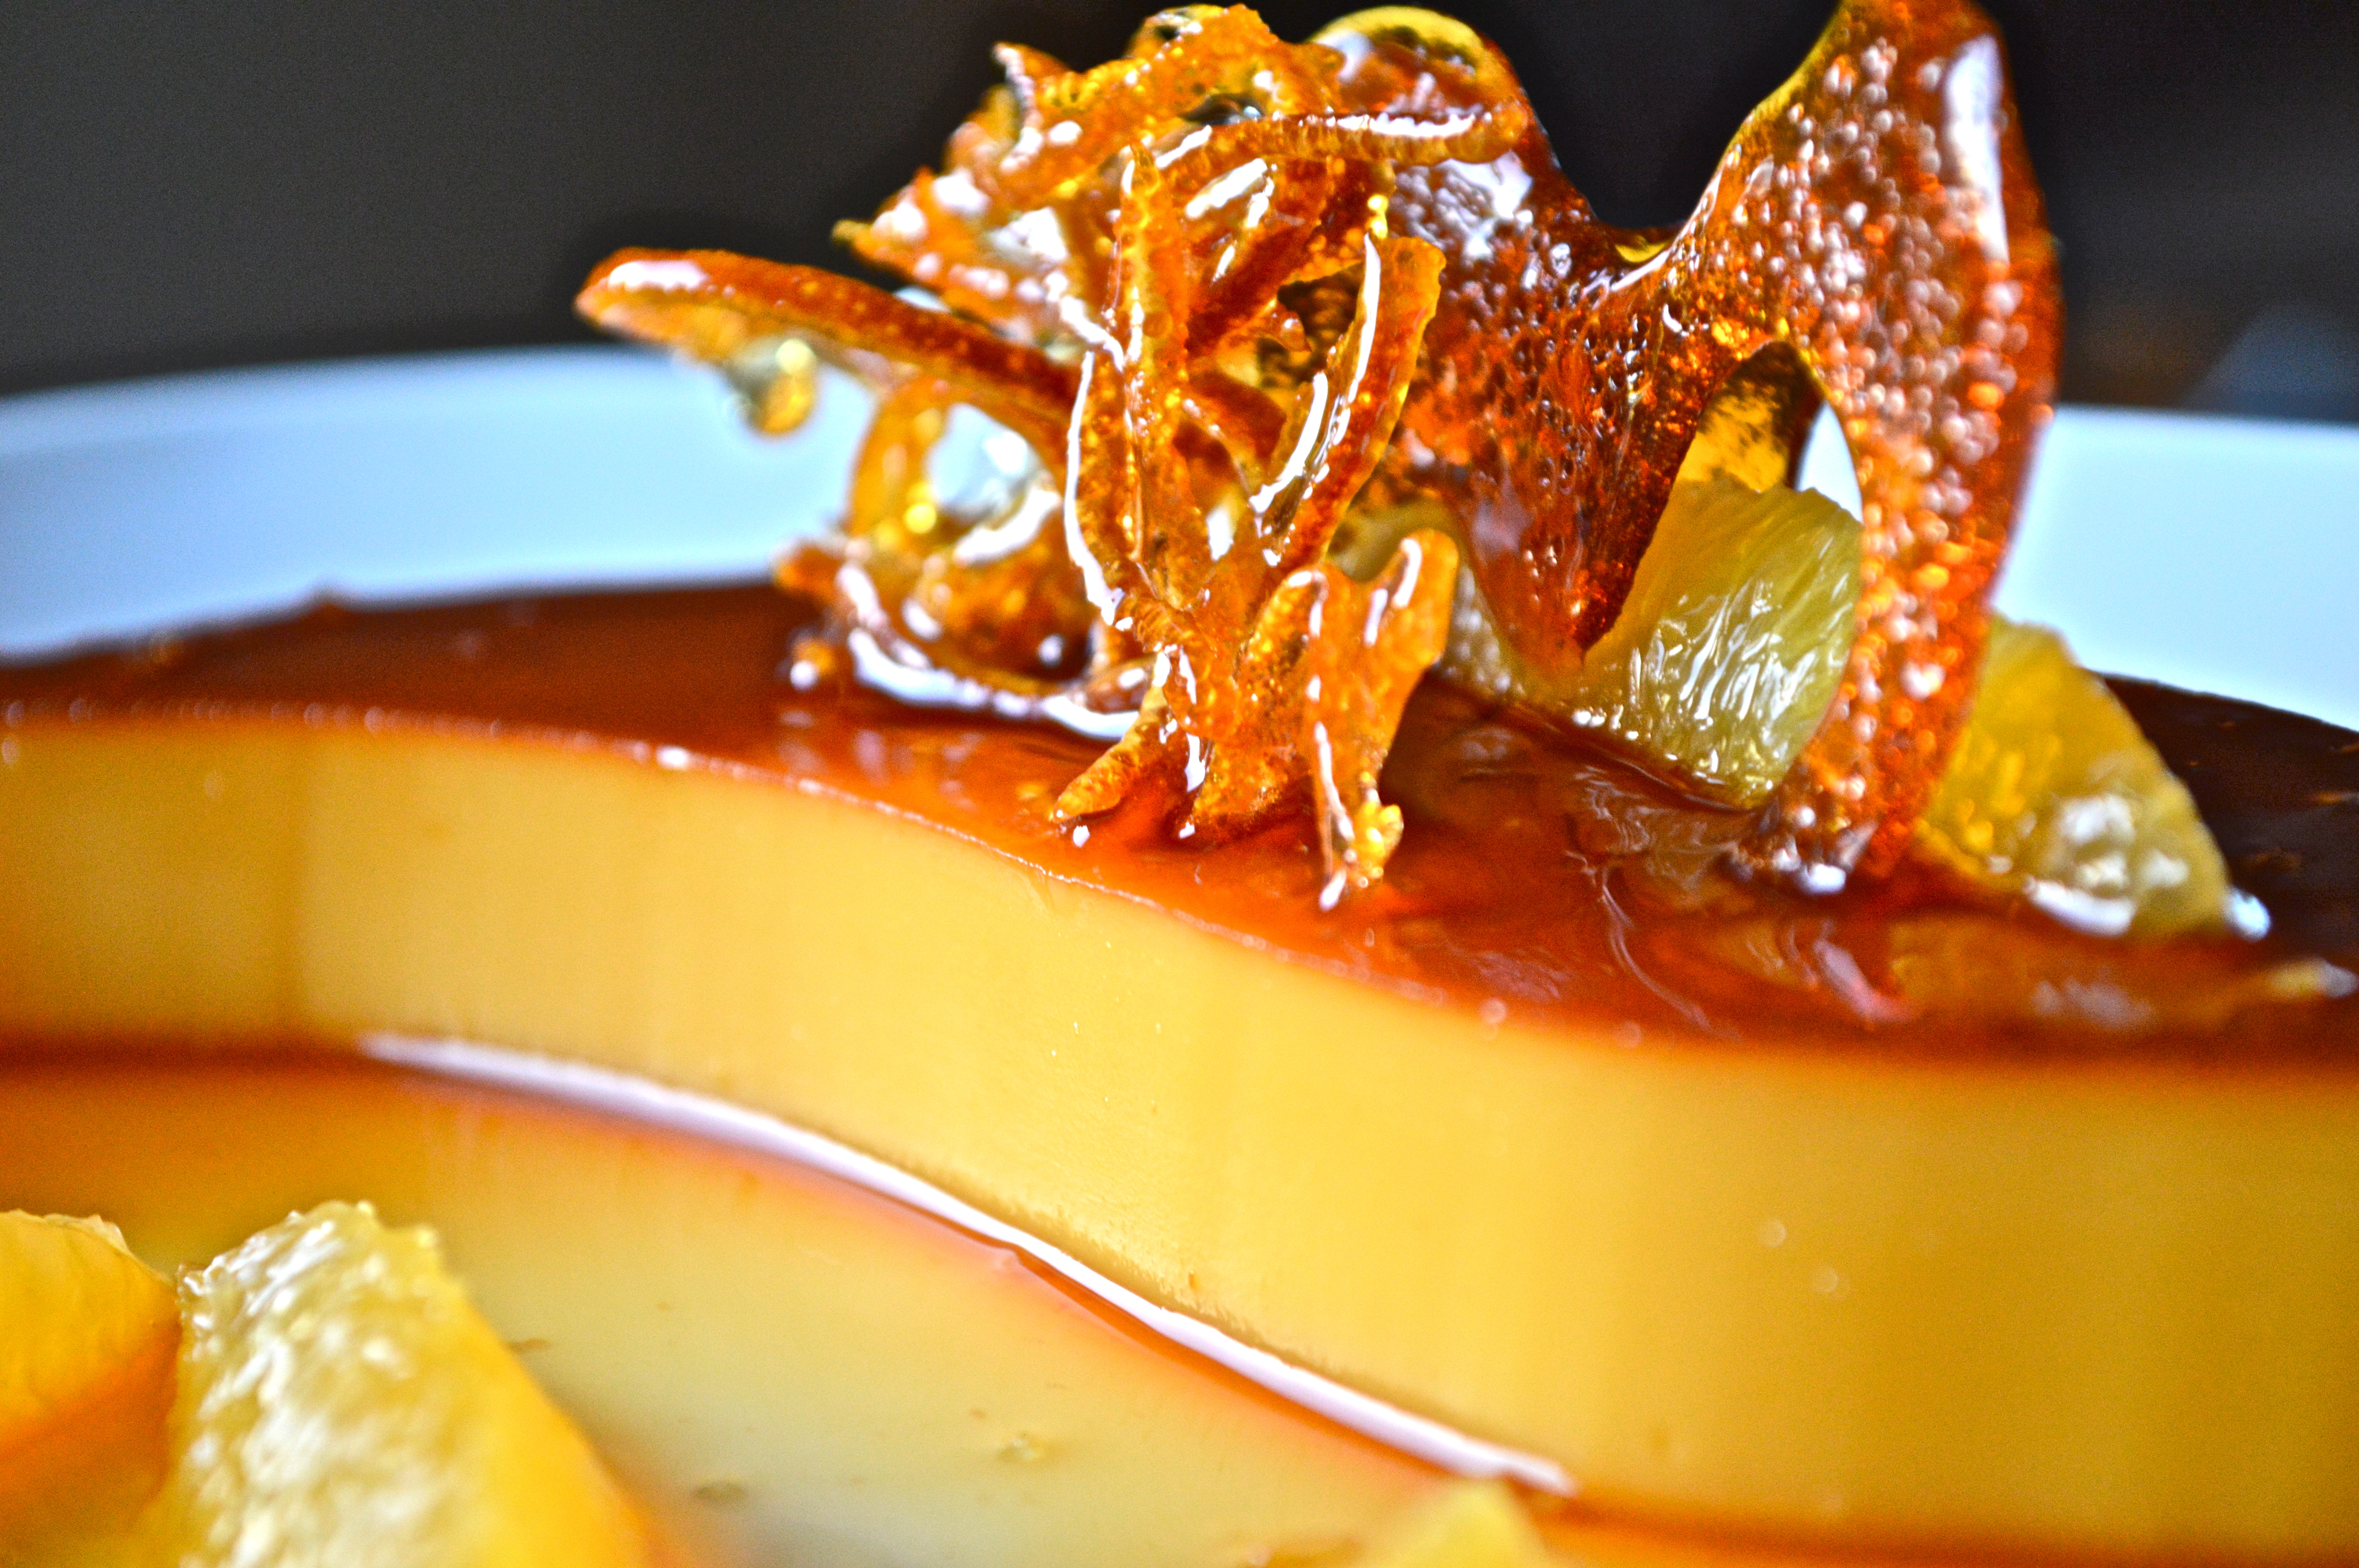
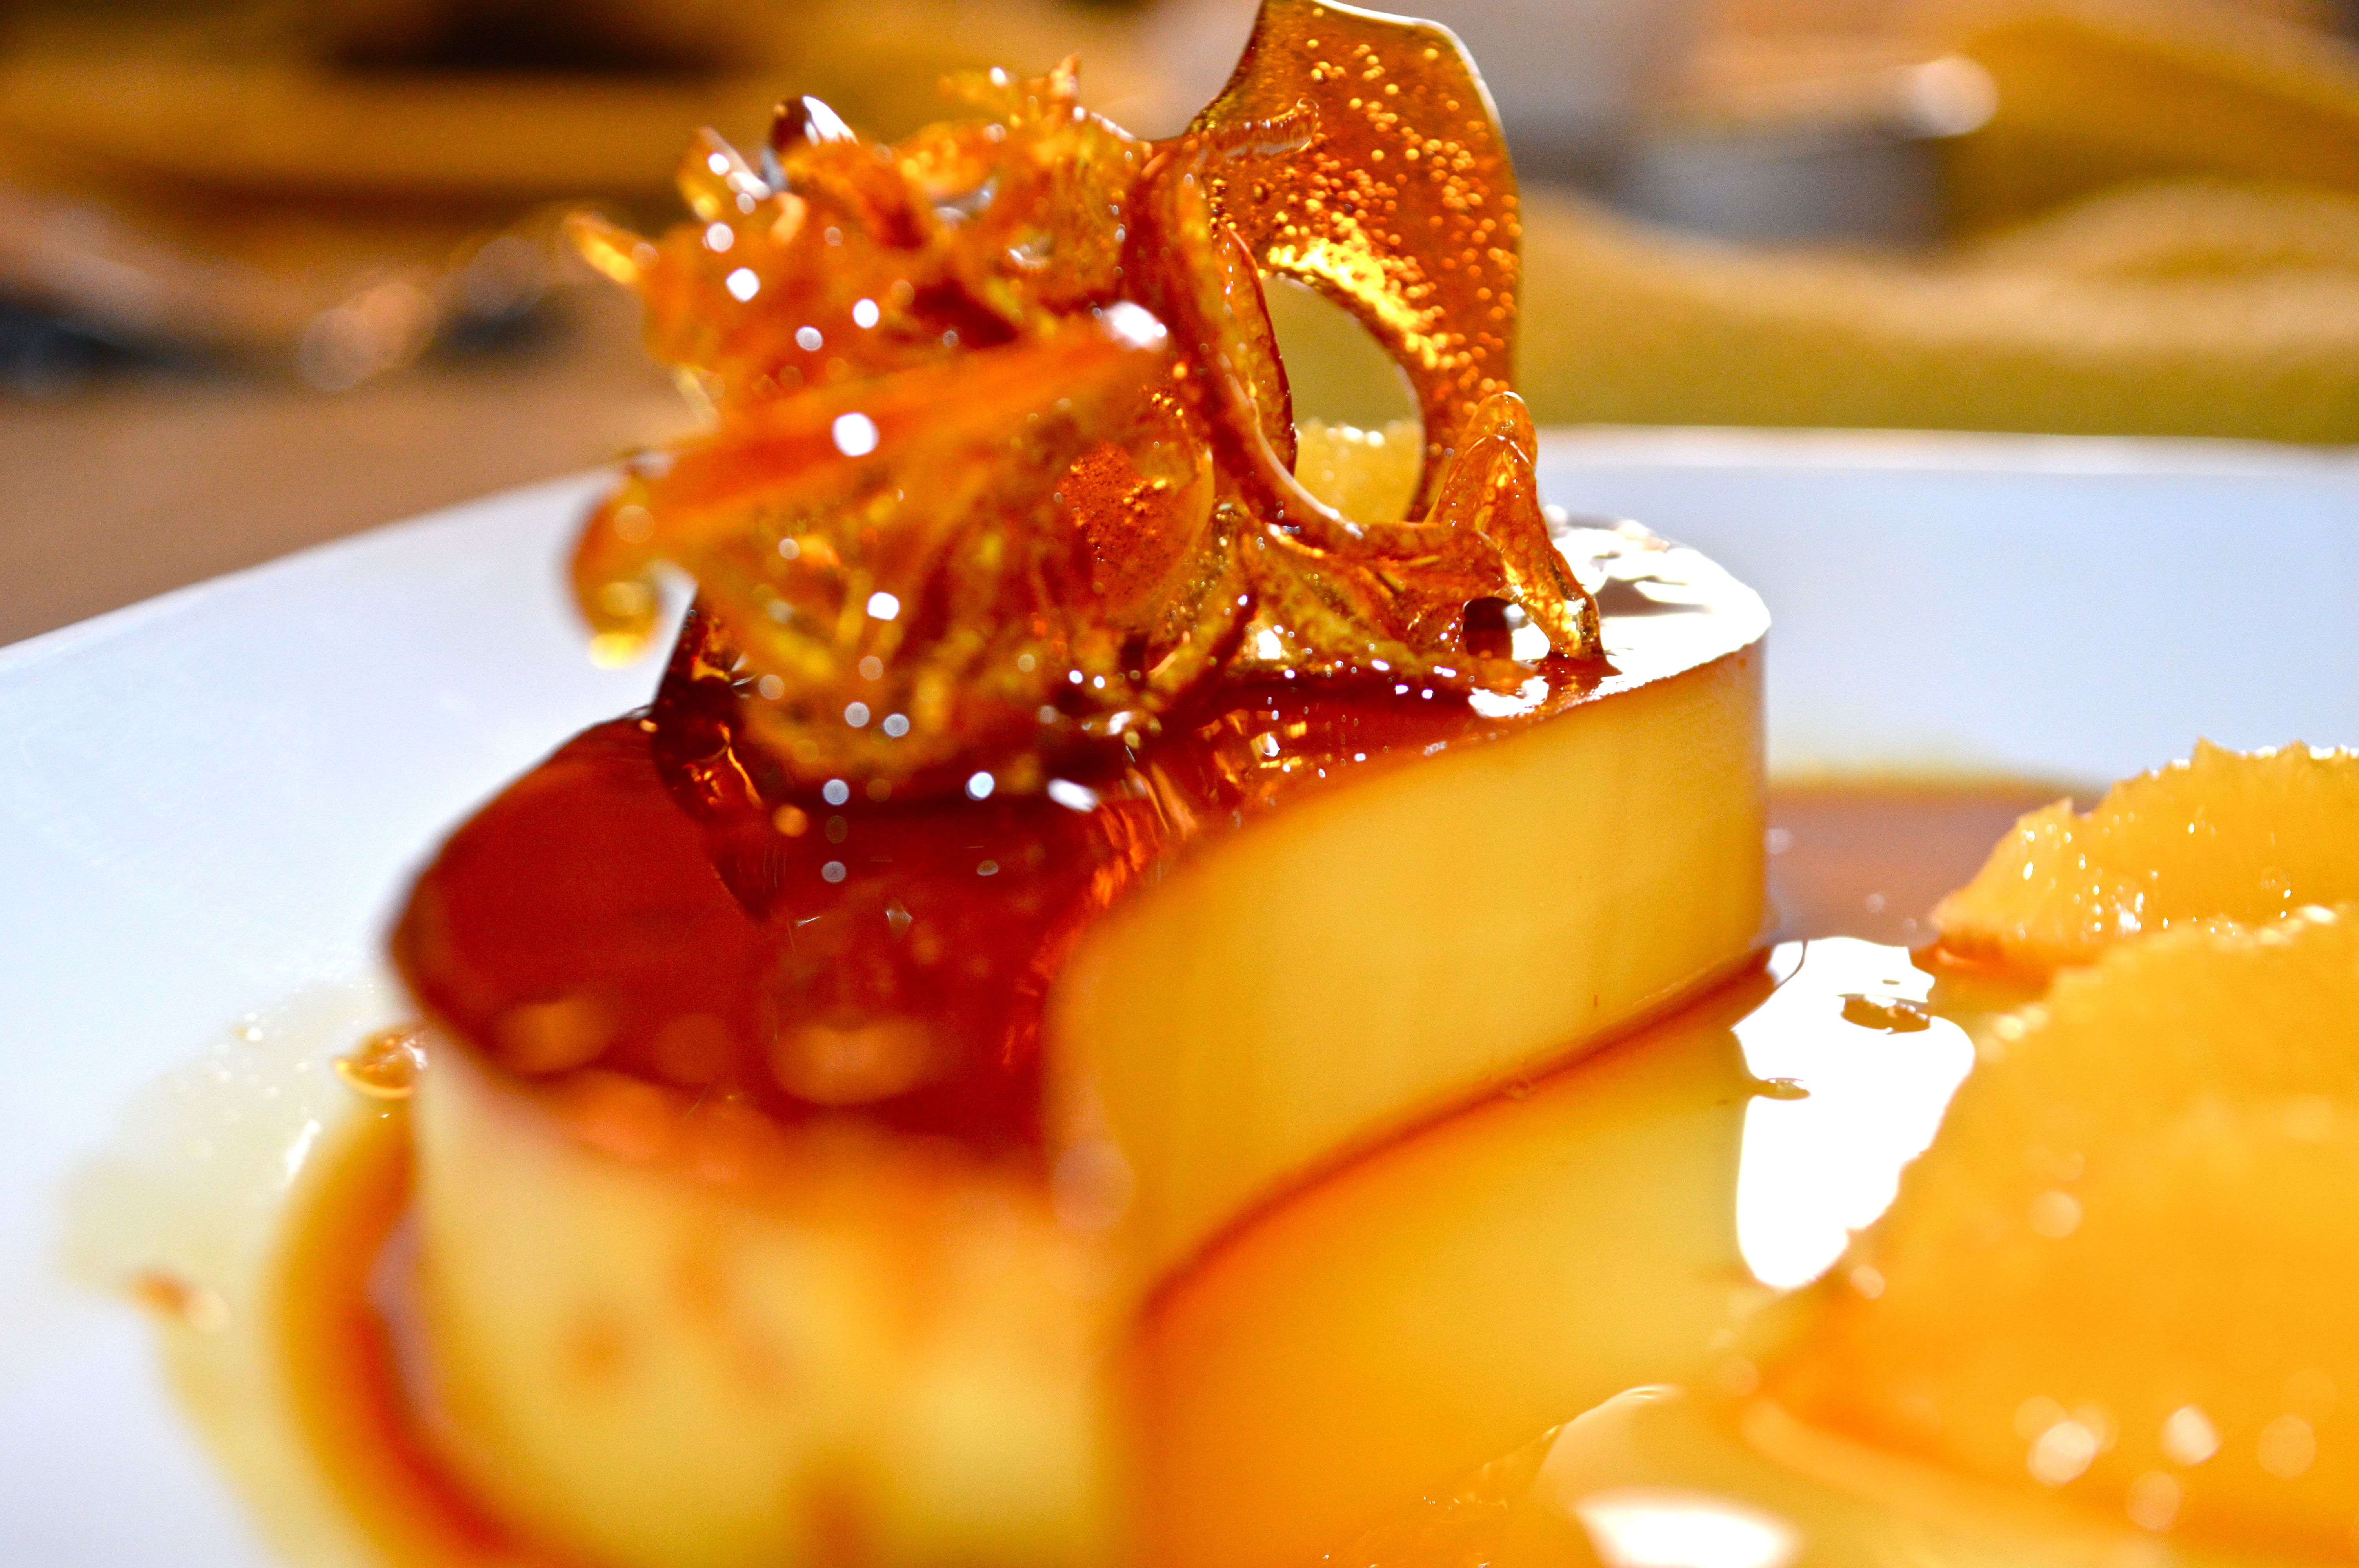
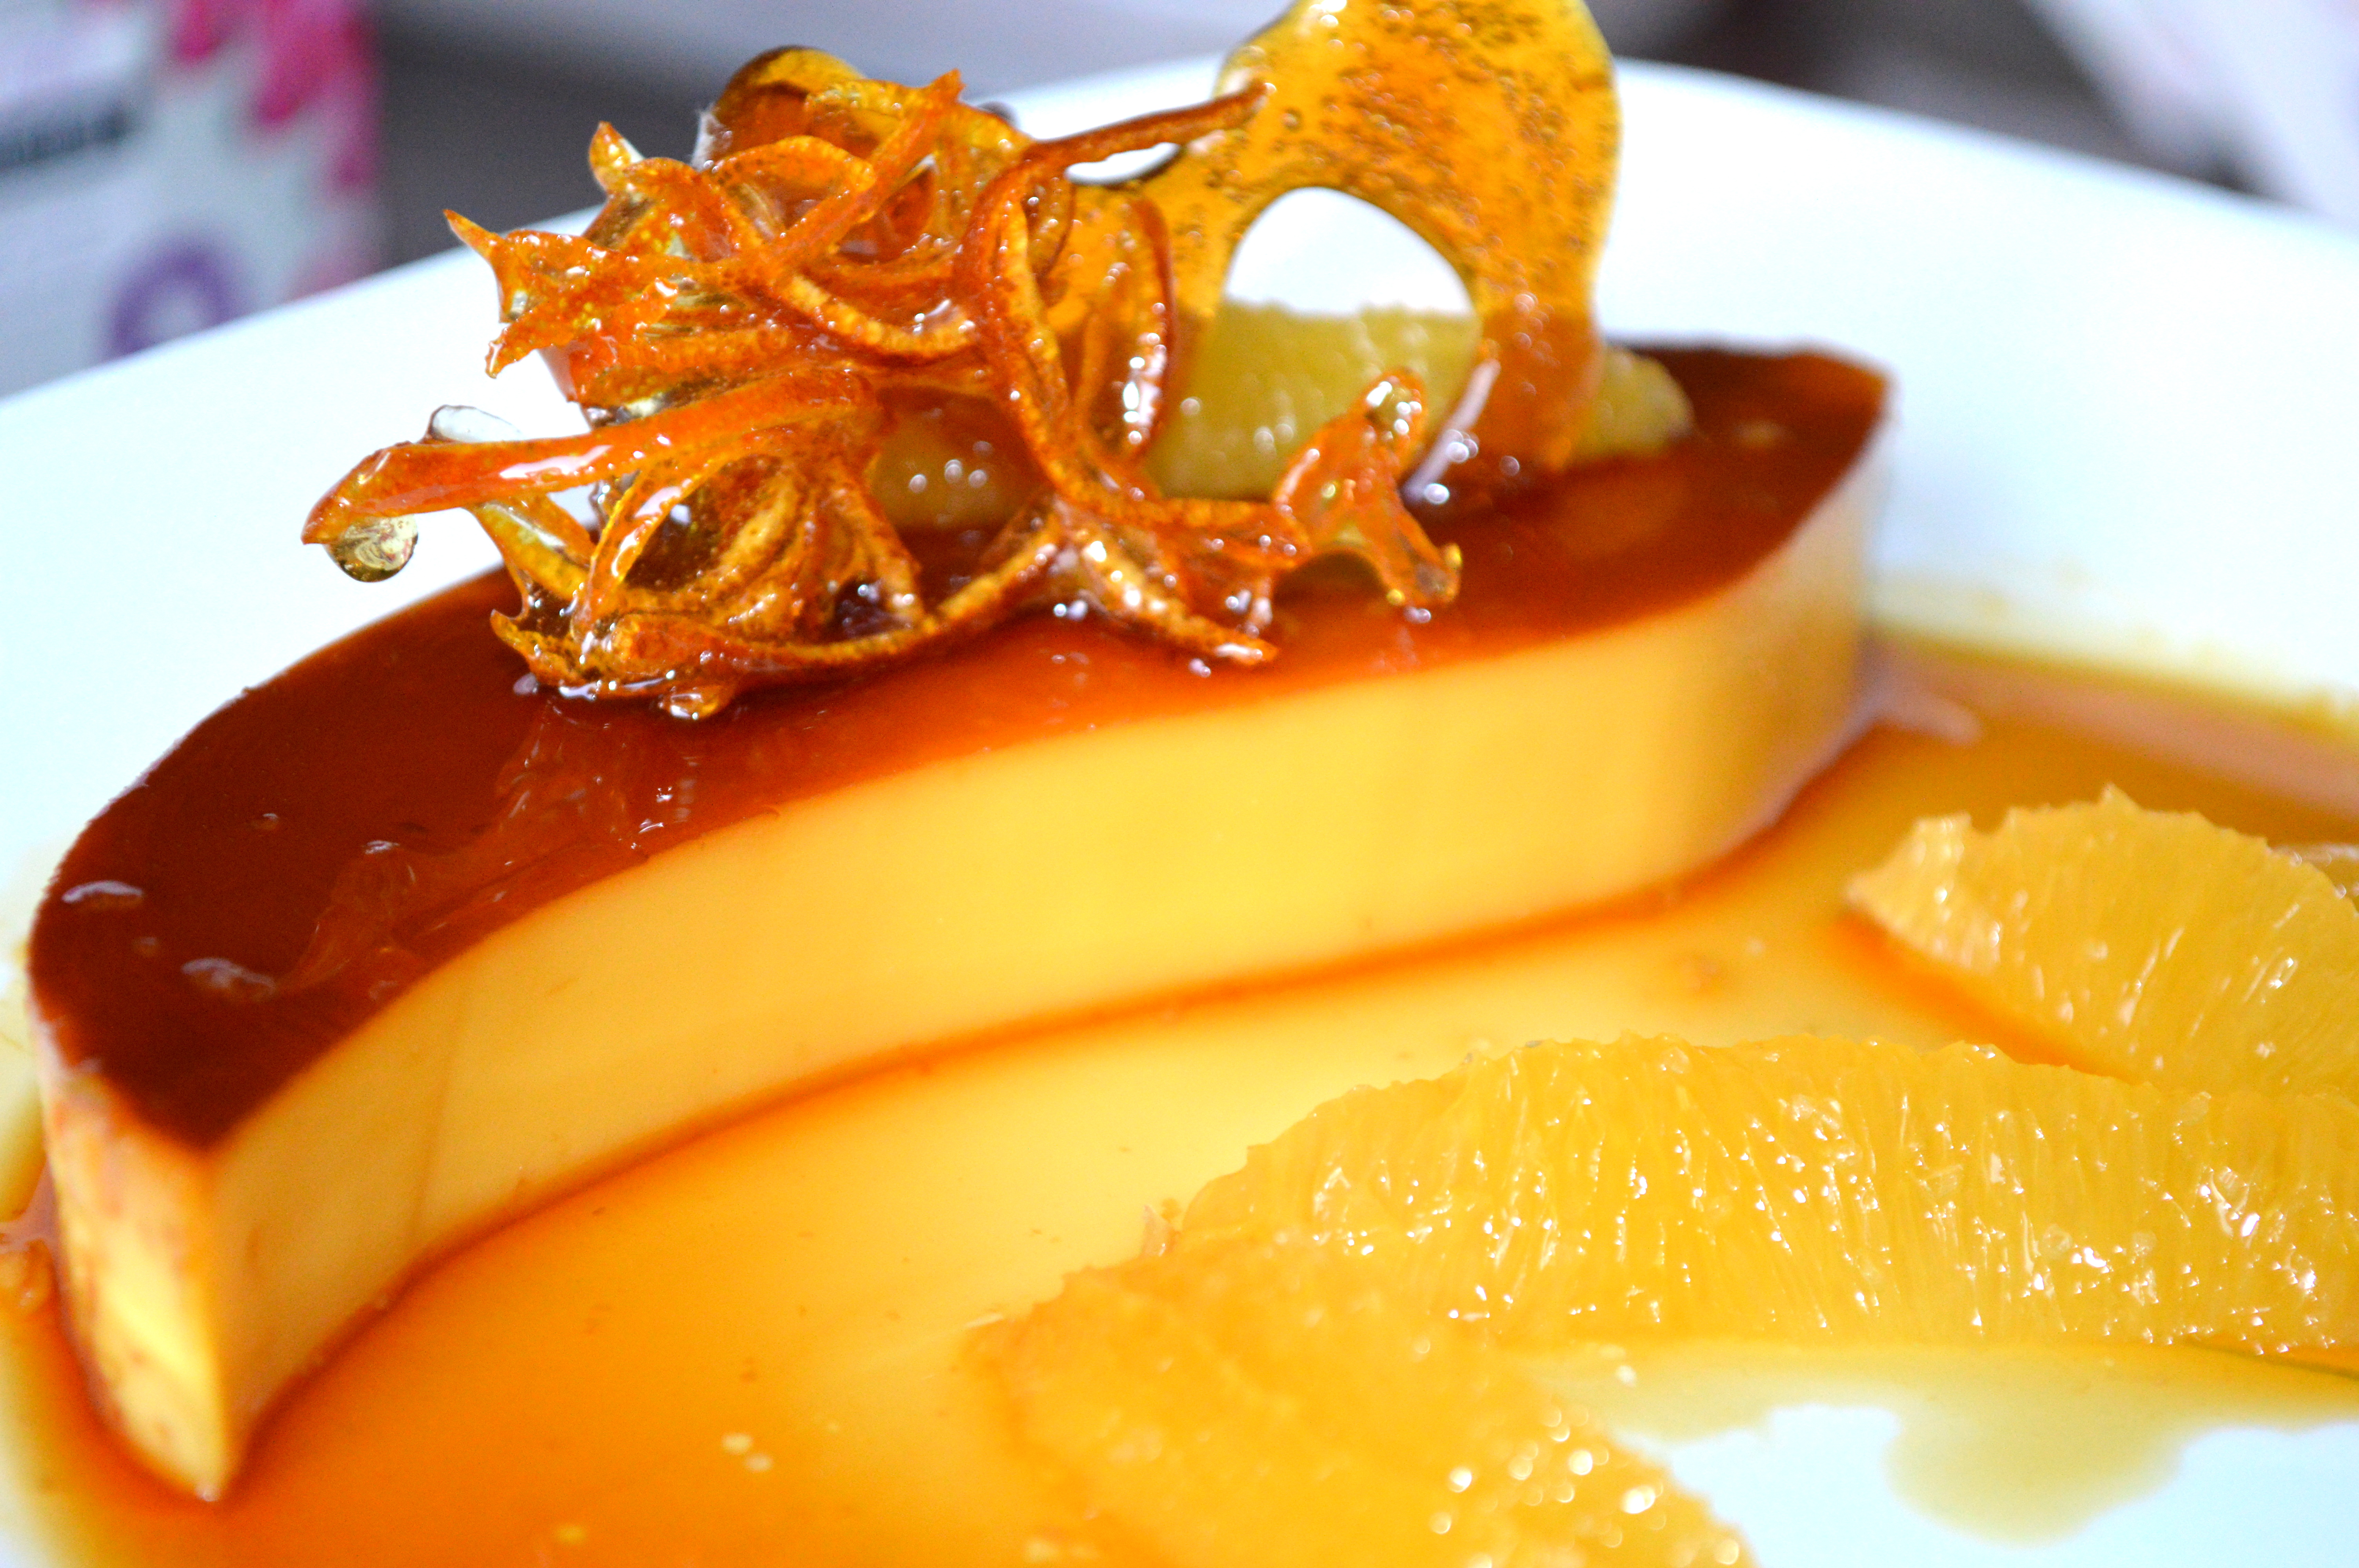
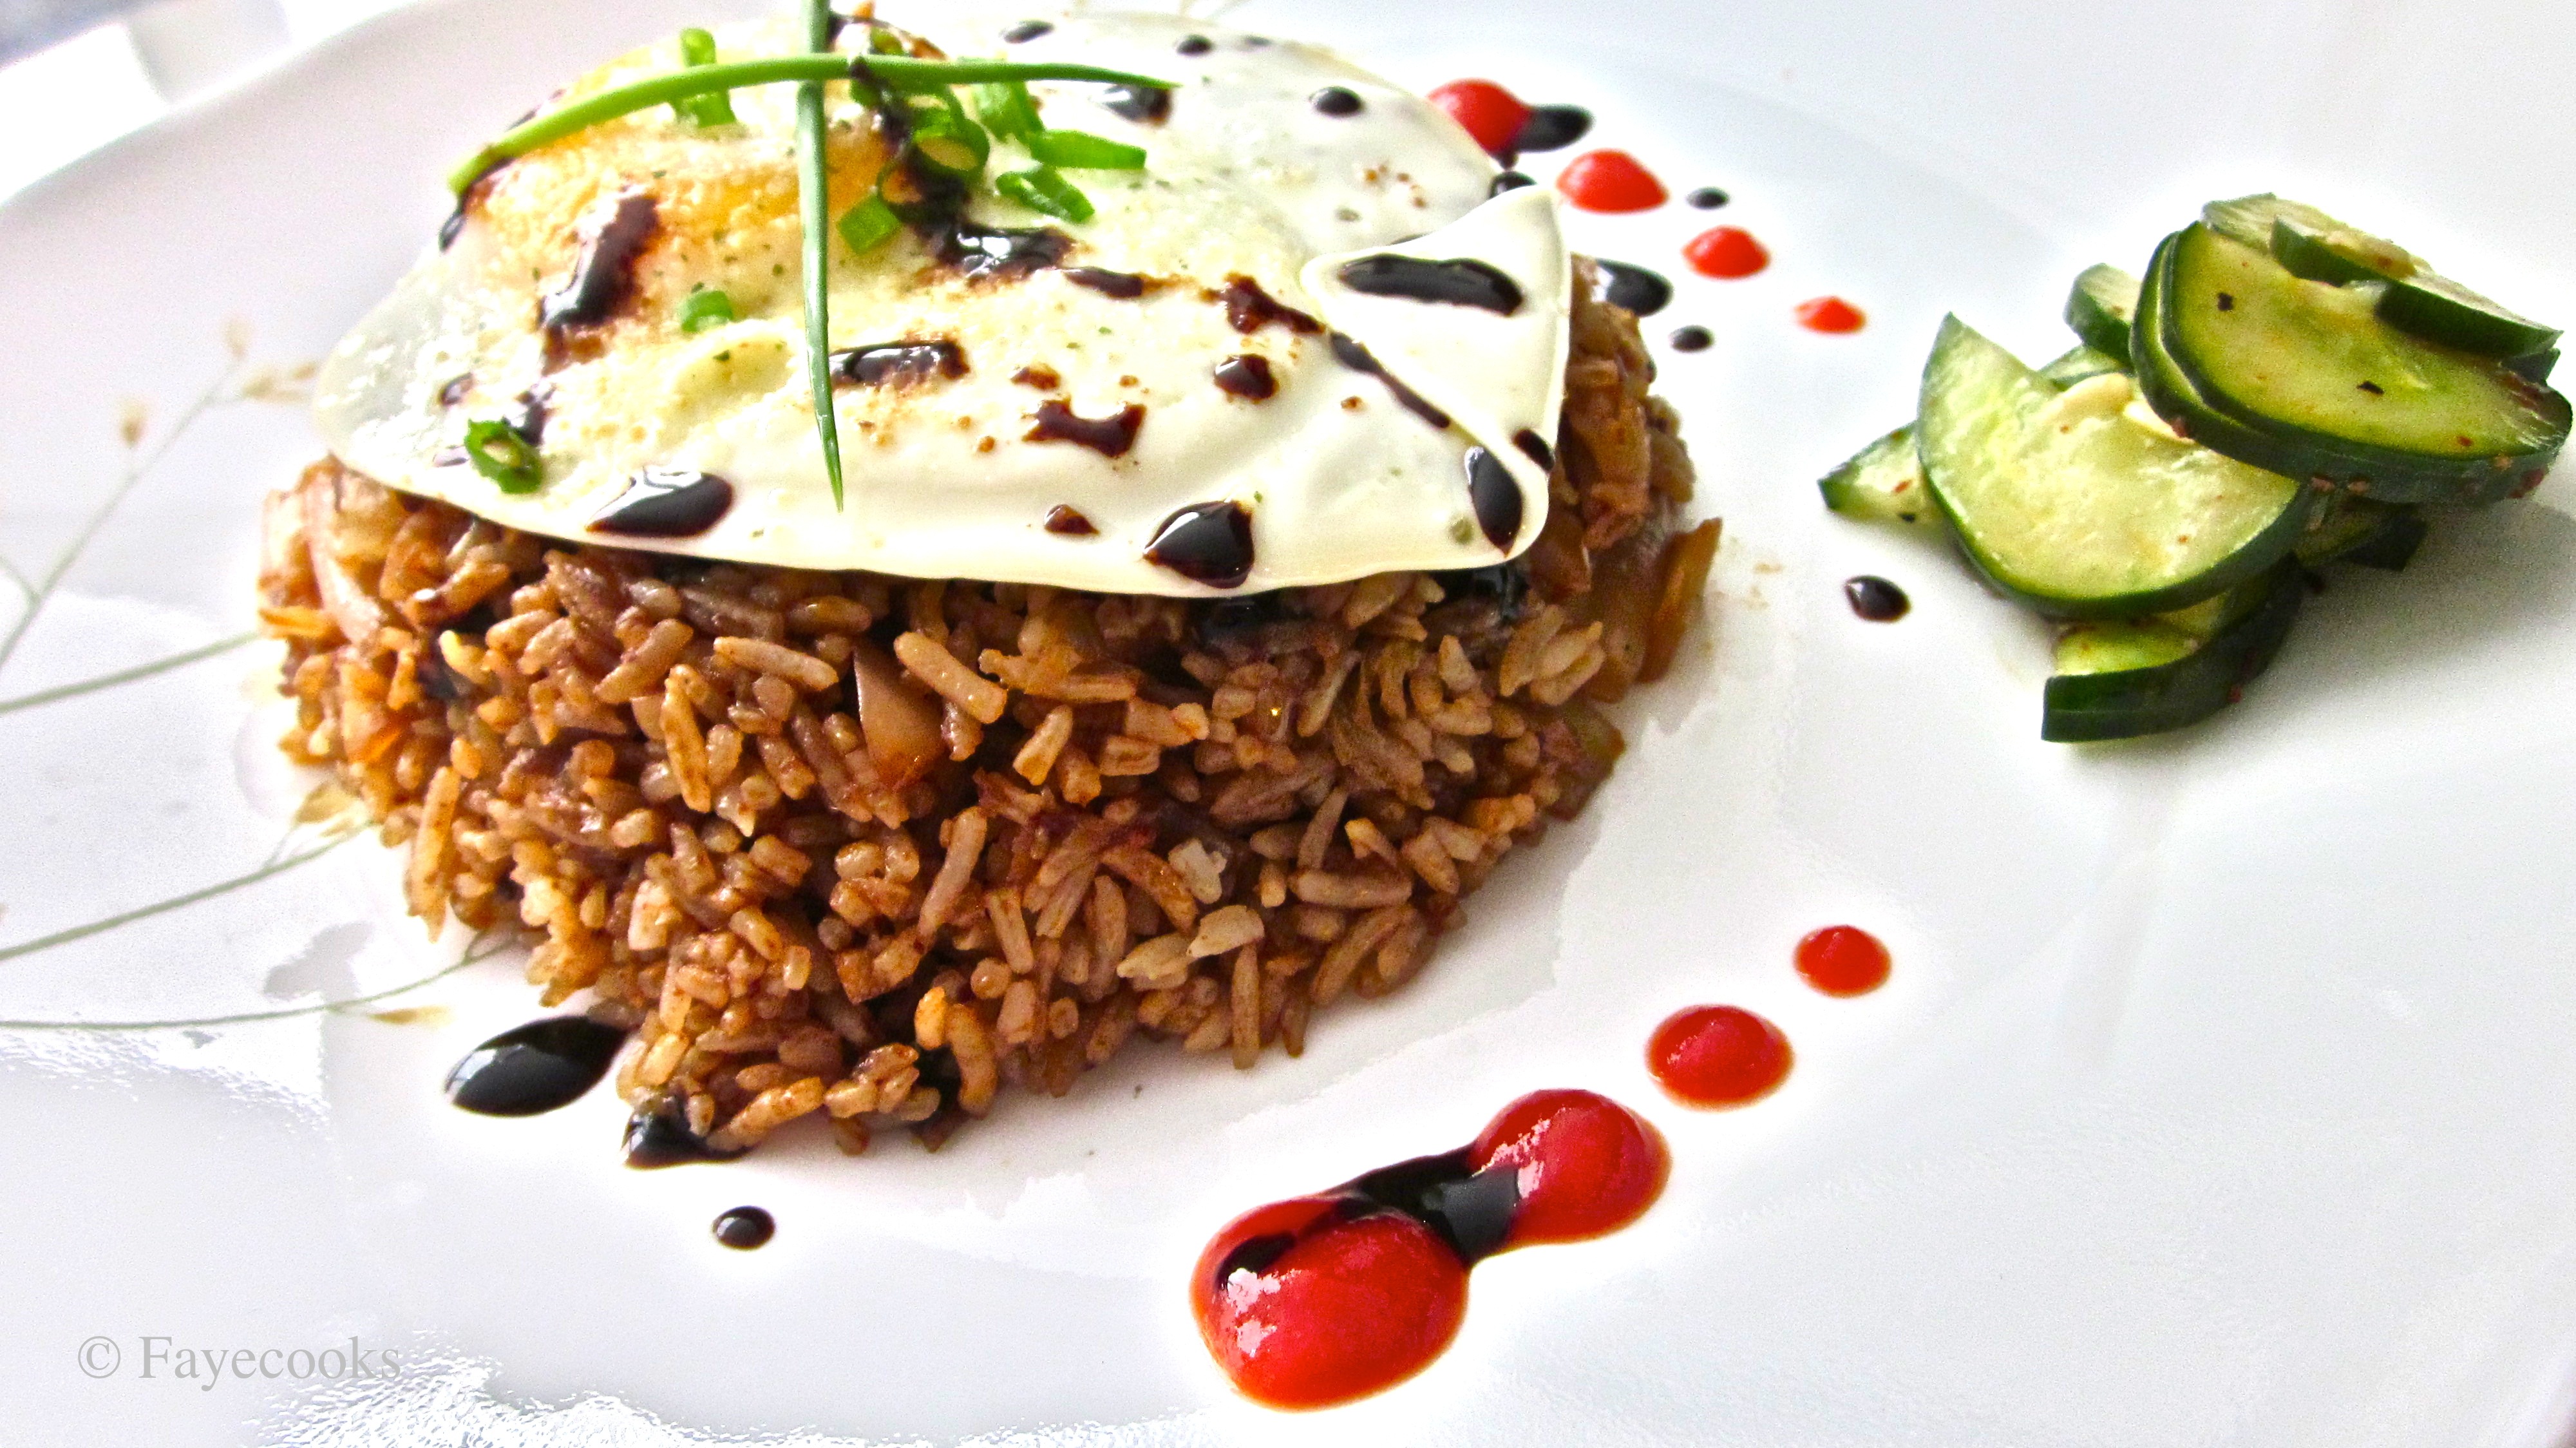
The caramel should be melted on the bottom and slide off the sides of the flan when flipped creating this pool of golden saucy goodness.

Image

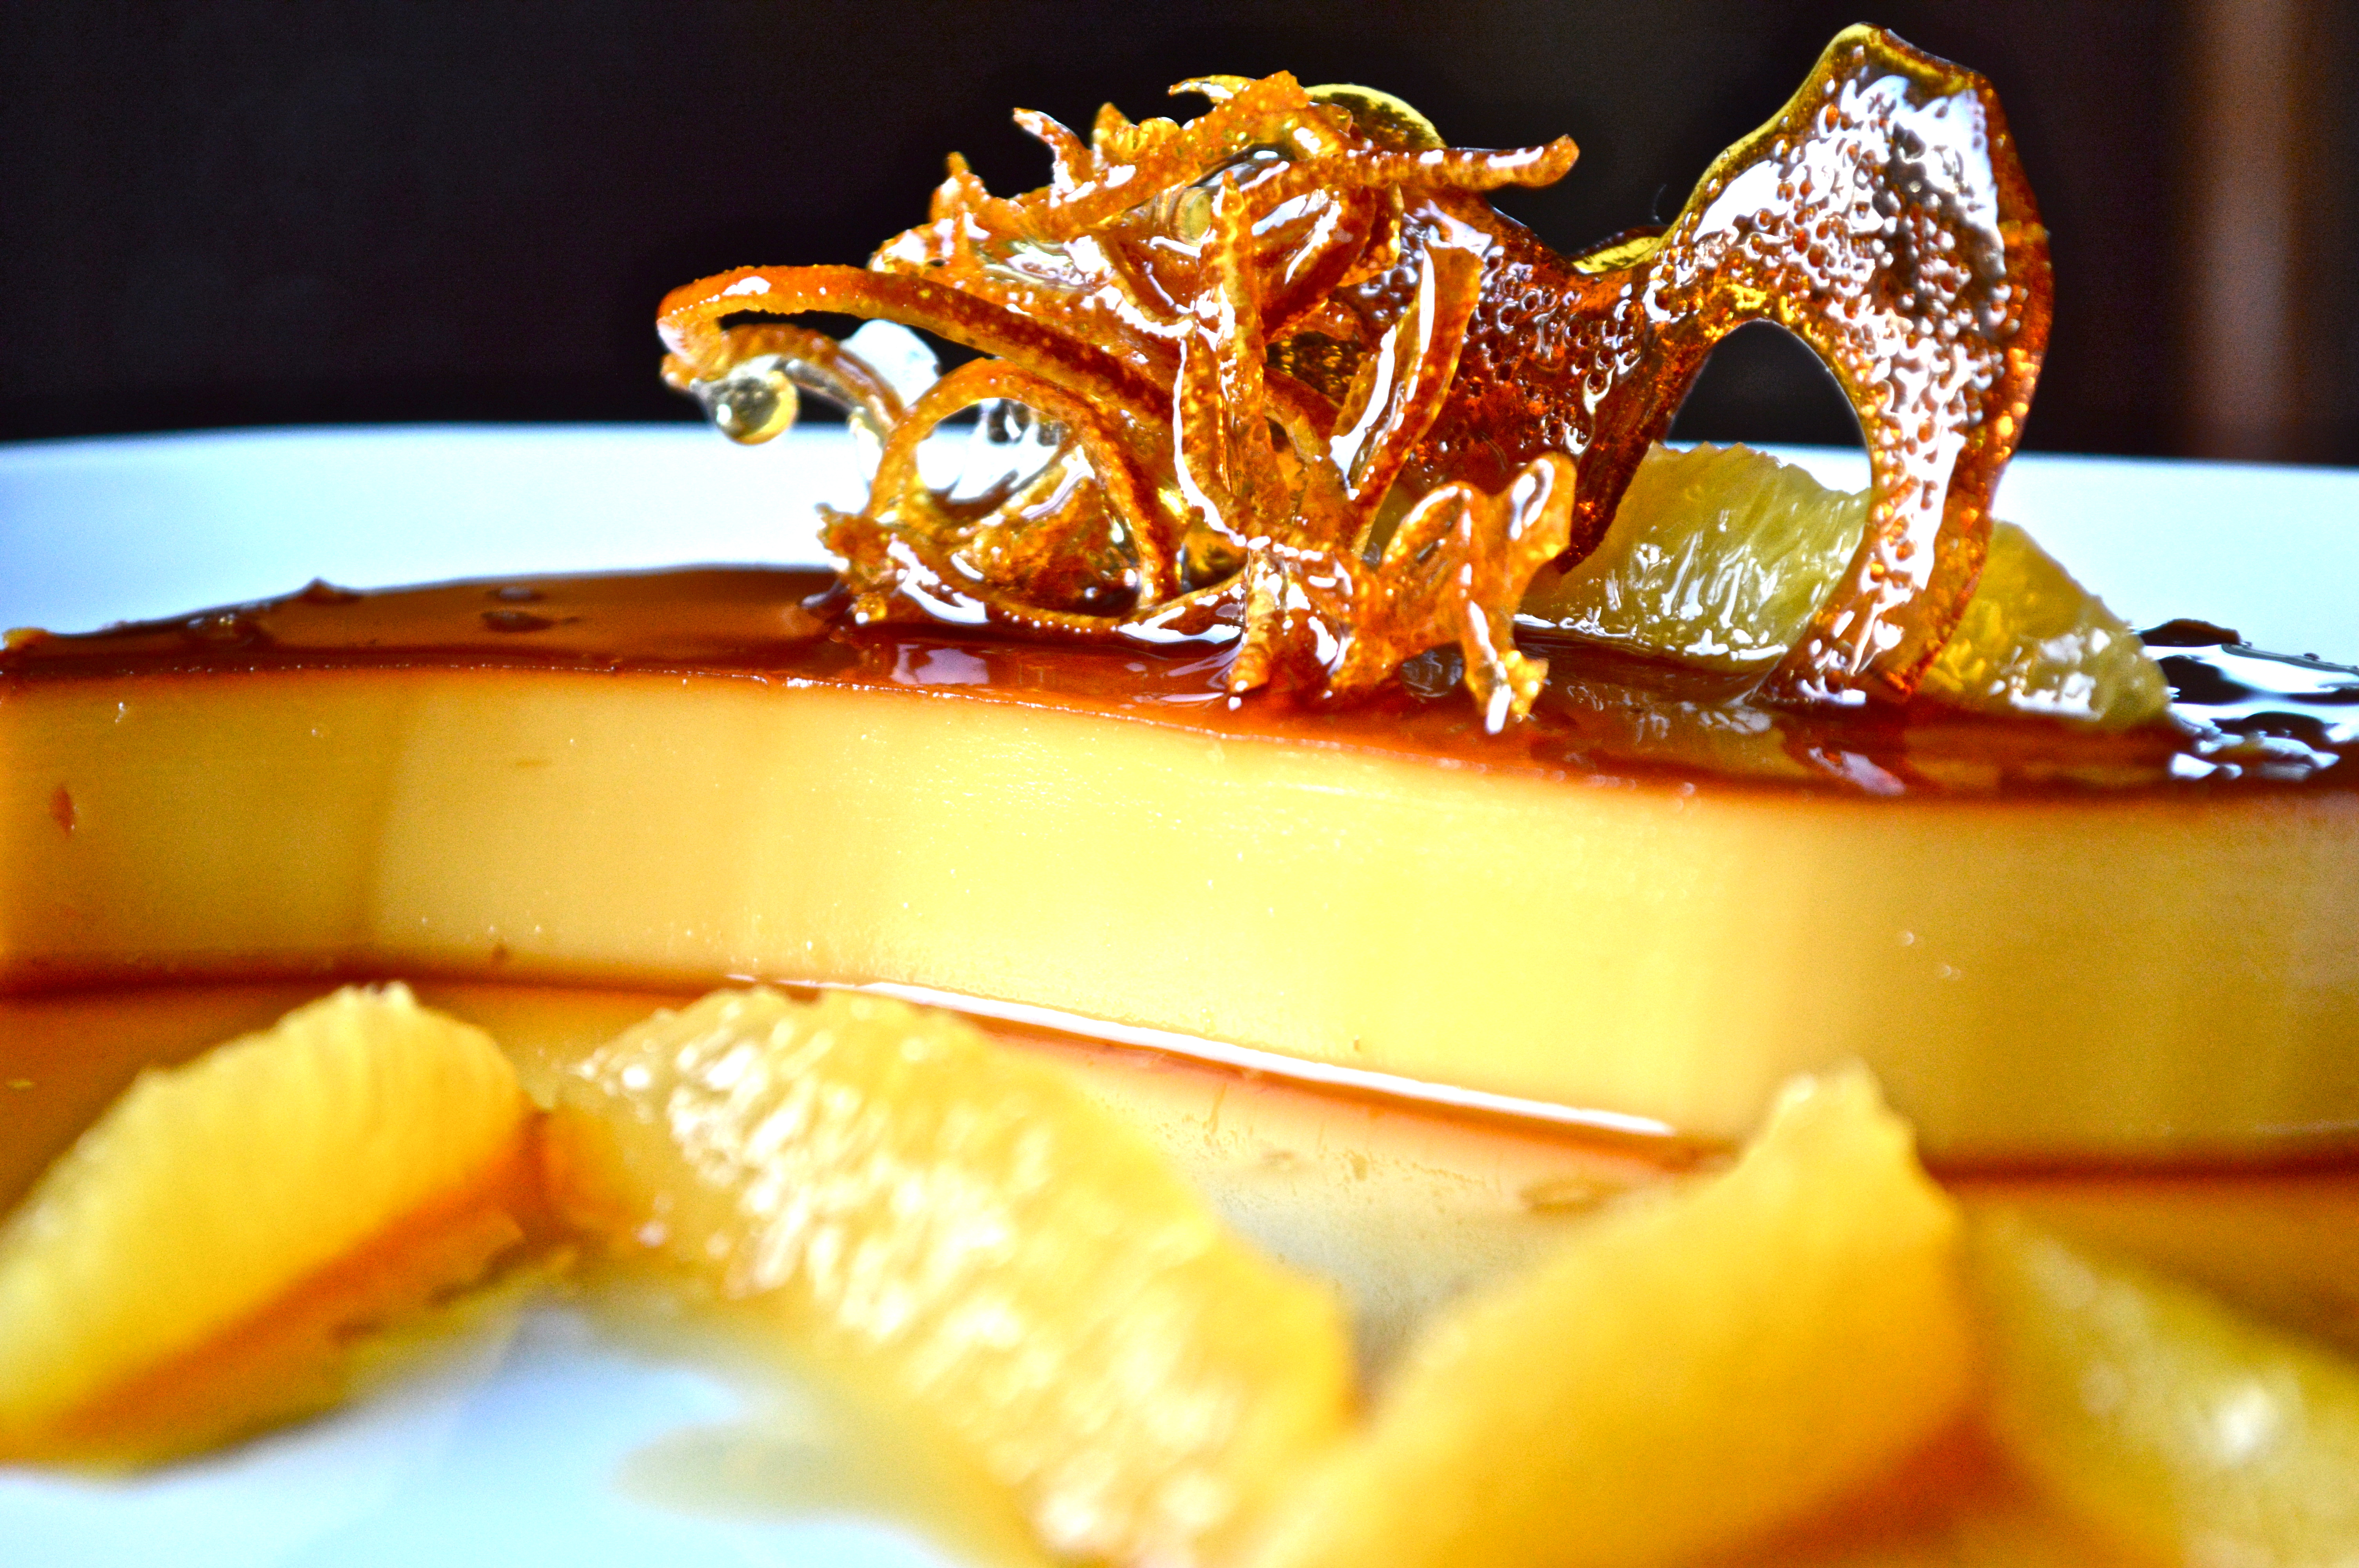
I went a little fancy for the photoshoot. I cut out a squiggle (“S” shape) on the container instead of cutting around the perimeter. This gave it an oblong Yin and Yang-esque shape. I only used the “Yang” part, as seen in the picture. Then, I carefully arranged segmented oranges (which were extremely sour!), and put some candied orange peels and a sugar “heart”on top (except the bottom of the heart broke off).

The orange peels seriously tasted like Fruit Loops.

Image

Hope ya’ll try this one. Feel free to ask me any questions!

Happy eating!

Green Tea Latte

You know you’ve stayed at Starbucks for too long when your hair starts to smell like coffee beans. Don’t get me wrong, some people actually enjoy that scent in their scalp, but I’m not a big fan of coffee. I would actually prefer smelling like green tea. I looooove everything green tea, so when I go to Starbucks, I usually get their green tea latte. It’s my absolute favorite!Image

I’ve made this drink several times, adjusting here and there to match the original. I think this is pretty close.

Ingredients

1/2 cup water

1 cup soymilk

1 teabag of green tea

1 teaspoon matcha green tea powder 

2 tbsp of sugar or agave nectar (to taste!)

1 dash of vanilla extract

Whipped cream (not optional)

Image

Instructions

1. In a saucepan, heat water and sugar on low-medium. When sugar is dissolved, put the tea bag in and let it steep for a couple of minutes. Remove tea bag.

2. Sift (optional) the matcha powder into the saucepan and whisk until fairly dissolved.

3. Add soy milk and vanilla extract and continue whisking. 

4. When milk starts foaming, turn off heat and transfer to a glass jar. Refrigerate until cool. Serve cold WITH whipped cream. 

Image

DO NOT dust with matcha powder like I did, unless you like bitter whipped cream. I did it mostly for aesthetic purposes. Image

ImageIt pairs well with cookie-brownies (as seen in the pictures).

Enjoy!

Kim Chee Fried Rice

Fried rice is practically my go-to meal whenever I’m hungry and there’s left-over rice in the fridge (which is seldom because living in a Filipino household, I eat rice at least 3x a day). It’s a very simple dish to make because, I mean– you can’t really go wrong with tossing a bunch of ingredients in a pan with rice (don’t quote me on that).Image

Image

Nevertheless, I love making fried rice. From all the years I’ve been experimenting with food, I think I have enough fried rice recipes to make my own cook book (yeah, right).

Anyways, what I have here is a recipe that I’m still trying to perfect. I mean, I think it tastes really yummy– not the usual way that Koreans make their kim chee fried rice (I’ve asked a few of my Korean friends how they make their version), but flavorful nonetheless. It’s very simple to make, and if you’re a fan of spicy, I think you’ll enjoy my version of this dish. 

Kim Chee Fried Rice, everybody.

Image

Ingredients

2 tbsp. butter

1 tbsp. minced garlic

2 tbsp. finely chopped onion

1/2 tsp. Korean pepper flakes

1/2 cup chopped kim chee

1 cup cold, preferably day-old white rice/ or brown.

1 tbsp. ketchup

Sauce

2 tbsp soy sauce

1/2 tbsp. sesame oil

1/2 tbsp sriracha (or even less if you don’t like it spicy)

Little salt and pepper to taste

Chopped green onions for garnish

Image

ImageImage

Instructions

1. Heat a pan with a wide bottom to medium heat. Melt butter and add the garlic, onion, and Korean pepper flakes until soft and fragrant.

(I’m a pescatarian-vegetarian, so I don’t eat any chicken, beef, pork, etc.) If you’re a normal meat-eating person and happen to have SPAM or bacon on hand, please feel free to toss em in there! (In doing so, yours will probably taste better than mine! :)) 

If you do plan on using bacon, I suggest you start off by rendering the fat which is easily done by adding a splash of olive oil to the bacon in the pan, and letting the heat just melt off the fat. If you do this, please omit the butter. 

2. Add kim chee and adjust setting to medium-high heat. Continue sautéing vegetables. I usually like to add mushroom to this also, but didn’t have any on hand. I think it gives it a really nice flavor. Button mushrooms or even shiitake will do, just make sure you chop em’ up real good.

3. To make the sauce, in a small bowl, mix together soy sauce, sesame oil, and sriracha. If you do not like yours overly spicy, please go easy on the sriracha! 

4. When the vegetables look like they’re about done (you will be the judge of this), throw in the sauce and keep sautéing. Let it reduce just for a little bit, then add the rice.

5. Make sure to keep constantly mixing and incorporating the rice to the sauce! Your goal is to turn all of the white rice kinda orangey. 

6. Taste it, and adjust! Add salt and pepper if necessary.

7. If you want, fry an egg and put it on top! Garnish with green onions, sriracha, etc.

Image

I felt a little Iron Chef-esque today (as you can tell from the pictures). Normally, I would just serve this on a styrofoam plate or just eat it straight from the pan. Although, if you’re wondering, I molded the fried rice using a bowl and flipped it over the plate. I put the egg on top, added a little garnish of green onions, dotted sriracha on the sides, and added pickled cucumbers that I made the day earlier. The hoisin sauce (black splatters) is totally optional. I personally didn’t like it on there. I just thought it looked good. 

Image

Image

So I think I’ve said it all! If you have any questions, feel free to leave a comment!

Happy eating!