Filipino Leche Flan

A staple dessert dish in the Philippines is leche flan, a creamy custard that I’d say is most comparable to creme brûlée. After telling my aunty, who lives in the Philippines, of my noble but catastrophic attempt at making this custard, she laughed at first, but later insisted that I learn her technique in making this dessert before I left for Hawaii. It’s so simple.

Image

Ingredients

Custard

12 egg yolks

1 can or 12 oz. condensed milk

1 can large evaporated milk

1 tbsp. fresh calamansi juice or lemon juice (any citrus, really)

1 tbsp. vanilla extract (optional)

Caramel

3/4 cup sugar

2 tbsp water

Image

Instructions

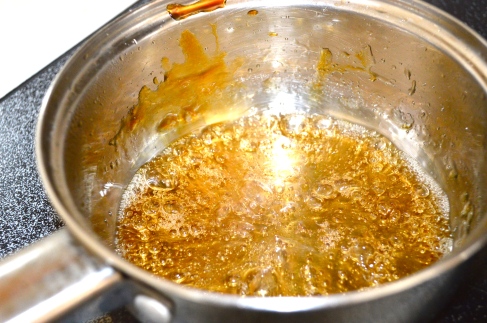
1. In a saucepan, heat water and sugar on low-medium. When sugar is dissolved and golden brown, quickly pour the sugar into each aluminum ramekin and spread evenly by tilting it using tongs (because it’s extremely HOT!). You don’t have to use the container I used– a porcelain ramekin (which is more widely used here) will do the job!

Image

2. Separate the yolk from the white by cracking the egg open, transferring it to your hand, and ever so carefully juggling the yolk so that the white will fall in between your fingers. Do this 12 times.

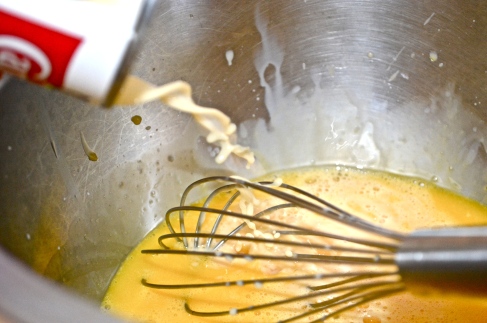
3. Whisk the egg yolk, condensed milk, evaporated milk, and calamansi juice in a bowl until smooth. Add vanilla extract.


Image

4. Strain the custard mixture using a fine sieve to get rid any undissolved particles. This is extremely important in order to have a very smooth custard.

5. Transfer evenly into the ramekins, cover with aluminum foil, and place in a steamer for 45 minutes. Make sure the steamer is boiling at medium to low heat.

Note: If you don’t have a steamer, you may bake it in a water-bath inside a pre-heated 325 degrees oven. Basically, you fill a large tray about half way with water and place the ramekins on top.

6. Check to see if it’s done by pressing gently on the top of the custard and if it’s firm and a little bouncy, it’s perfect. You do not want to over cook these! They become hole-y inside. After, leave to cool and when ready to serve, just go over the sides with a knife, put a plate over it, and flip!

Image

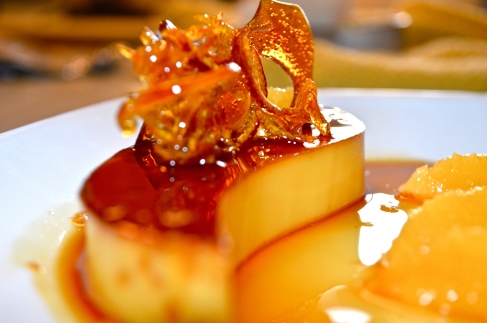
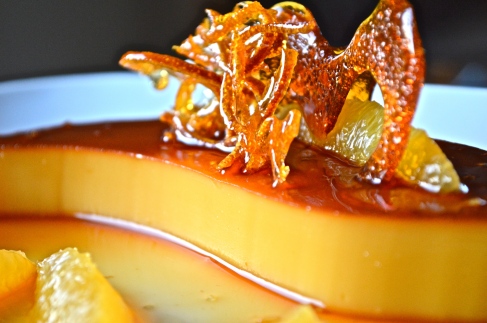
The caramel should be melted on the bottom and slide off the sides of the flan when flipped creating this pool of golden saucy goodness.

Image

I went a little fancy for the photoshoot. I cut out a squiggle (“S” shape) on the container instead of cutting around the perimeter. This gave it an oblong Yin and Yang-esque shape. I only used the “Yang” part, as seen in the picture. Then, I carefully arranged segmented oranges (which were extremely sour!), and put some candied orange peels and a sugar “heart”on top (except the bottom of the heart broke off).

The orange peels seriously tasted like Fruit Loops.

Image

Hope ya’ll try this one. Feel free to ask me any questions!

Happy eating!
Nutella Pistachio Brownie Bites

Aside from cooking savory foods, I also love love love to bake! Baking is a great stress reliever and it definitely helps me to get my mind off of things. Something about crushing garlic, melting chocolate, kneading dough, or sautéing vegetables allows me to go into a state of meditation and have that anxiety just melt away (like the chocolate). Today was one of those days that I just needed to relieve stress. So I experimented a bit and made, as the title suggests, something with Nutella.

Image

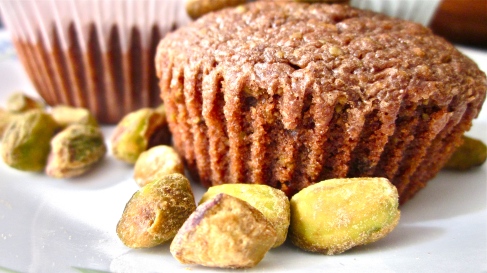
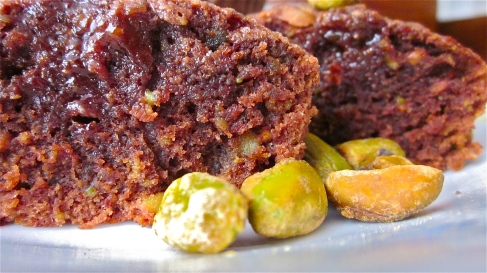
I actually had half of the work load done for me, since Nutella is soooo decadent in and of itself! So if you’re a pistachio lover, you may like this recipe for the texture and that small hint of pistachio flavor, but the chocolate-hazelnut deliciousness practically overpowers everything, which I’m not complaining about!

Enjoy~

Note: I think half of the fun in making these cooking blogs is the photoshoot I do along the way. Here are some of the good ones!

Image

Image

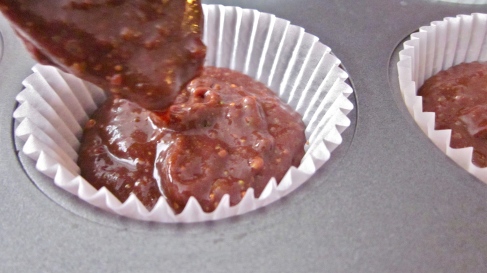
^ This was the hardest part for me; Made me realize that I need to invest in an ice cream scoop.

Image

Ingredients

1/4 cup butter (if unsalted, add a pinch of salt)

1/4 cup white, granulated sugar

3/4 cup Nutella

2 medium eggs

5 tbsp. All-purpose flour

1 cup ground pistachios

(Recipe yields about 9-10 brownies)

Instructions

1. Preheat oven to 350 degrees F. Line a 12 servings-cupcake tin with liner and set aside.

2. Grind 1 cup of pistachios in a food processor or a blender until they are well-ground (grind, grinded?) Be careful not to over blend though. Set aside.

3. Cream butter and sugar together in a bowl with a whisk or a hand-held mixer.

4. Add the eggs and continue mixing until well combined.

5. Add Nutella and continue to mix. This is the part where you switch to a spatula!

6. Sift flour (or not) into the mixture and fold with the spatula. Add the pistachios that you have set aside and fold into the batter.

7. Spoon the batter (or use an ice cream scoop) into the liners. Fill about 1/2 – 3/4 of the way. This recipe should yield about 9 brownie cakes. Bake for 15 minutes. No longer! The top should be semi-dry, and when you do the toothpick trick, well– it won’t really work because the inside will be gooey. Just a disclaimer. 🙂

8. Eat that sucker!

If you’re wondering where the baking soda or baking powder is, well I didn’t have any when I made these, and they turned out perfectly fine! I was actually surprised that they turned out the way they did (very moist on the outside, and gooey in the middle) considering the minimal ingredients. Then again, I am a college-student. No need/time to get fancy-schmancy with things. Hope you guys give it a try!

Image

Happy eating!