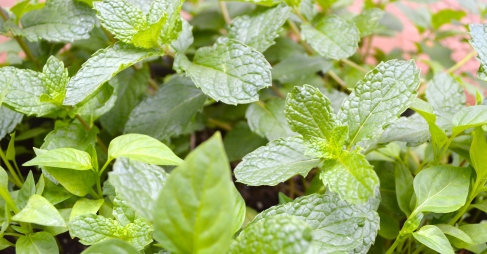
 A delicious and refreshing sweet tea iced drink that is perfect for hot summer days! Super easy and quick to make using ingredients you can find at home. I’ve been making this a lot these days because it is just blazing hot here in Hawaii and because my mom constantly requests that I make it. I infused the tea with mint just ’cause I have a mint shrub in my yard. You don’t have to use it, but I recommend that you do because it gives the tea a great flavor and that cooling sensation that you can’t get anywhere else. My mom also planted lavender, so I took the liberty of using that as well! And let me tell ya– it is seriously delicious. The lavender resonates throughout and soothes the senses giving it a whole ‘nother flavor profile. Will definitely be using it again! Anyways, off to the recipe!
5 cups of water
1 cup of sugar (raw, granulated white– whatever sweetens your cup of tea. Ba Dum Tsh!)
3 Lipton tea bags
1 cup fresh mint tea leaves
Optional
1 (stem/bundle) fresh lavender flowers or 1 tsp dried lavender
Instructions
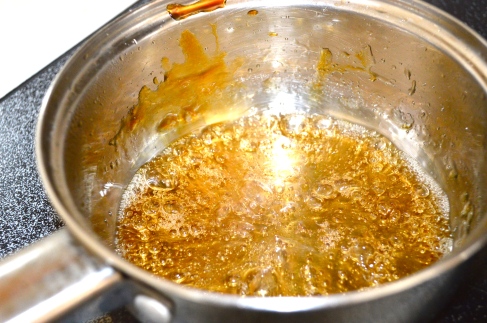
1. Bring 5 cups of water to a simmer in a pot and add in the sugar to dissolve.
2. Turn off the heat, add tea bags and let them steep for 10-15 minutes. You can even leave it there for an hour if you’d like!
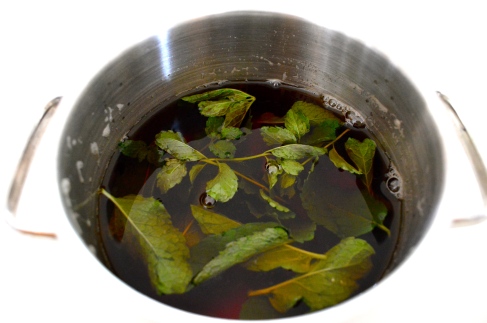 3. Add the mint leaves and lavender– none, one, or both and let it sit for a few minutes to infuse the flavors.
4. Transfer to a pitcher and fill with water to desired sweetness. It will be very sweet if left as is, so I recommend diluting it with cold water to lessen the sweetness. An additional 2 cups of water is perfect for me!
5. Refrigerate! Or pour it over ice, garnish with a mint leaf, and enjoy!
Also, if you’d like a milky consistency, add a little evaporated milk or condensed milk and ta-da! MILK TEA! I love both versions!
Enjoy!
