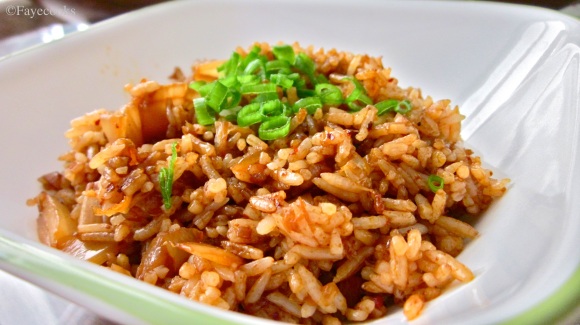
Kim Chee Fried Rice

Fried rice is practically my go-to meal whenever I’m hungry and there’s left-over rice in the fridge (which is seldom because living in a Filipino household, I eat rice at least 3x a day). It’s a very simple dish to make because, I mean– you can’t really go wrong with tossing a bunch of ingredients in a pan with rice (don’t quote me on that).Image
Image

Nevertheless, I love making fried rice. From all the years I’ve been experimenting with food, I think I have enough fried rice recipes to make my own cook book (yeah, right).

Anyways, what I have here is a recipe that I’m still trying to perfect. I mean, I think it tastes really yummy– not the usual way that Koreans make their kim chee fried rice (I’ve asked a few of my Korean friends how they make their version), but flavorful nonetheless. It’s very simple to make, and if you’re a fan of spicy, I think you’ll enjoy my version of this dish. 

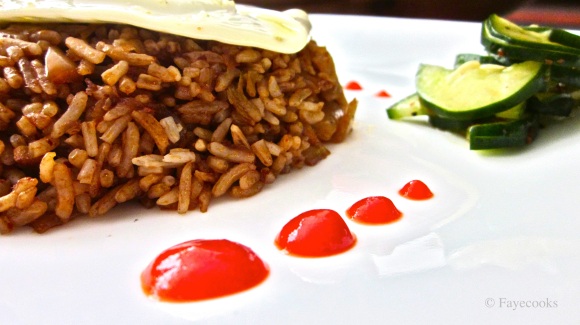
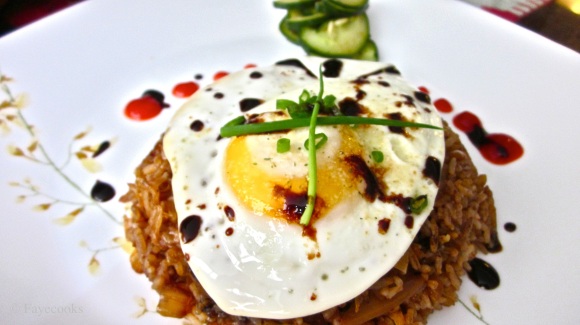
Kim Chee Fried Rice, everybody.

Image

Ingredients

2 tbsp. butter

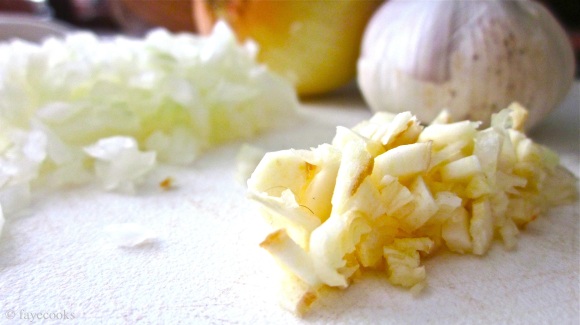
1 tbsp. minced garlic

2 tbsp. finely chopped onion

1/2 tsp. Korean pepper flakes

1/2 cup chopped kim chee

1 cup cold, preferably day-old white rice/ or brown.

1 tbsp. ketchup

Sauce

2 tbsp soy sauce

1/2 tbsp. sesame oil

1/2 tbsp sriracha (or even less if you don’t like it spicy)

Little salt and pepper to taste

Chopped green onions for garnish

Image

ImageImage

Instructions

1. Heat a pan with a wide bottom to medium heat. Melt butter and add the garlic, onion, and Korean pepper flakes until soft and fragrant.

(I’m a pescatarian-vegetarian, so I don’t eat any chicken, beef, pork, etc.) If you’re a normal meat-eating person and happen to have SPAM or bacon on hand, please feel free to toss em in there! (In doing so, yours will probably taste better than mine! :)) 

If you do plan on using bacon, I suggest you start off by rendering the fat which is easily done by adding a splash of olive oil to the bacon in the pan, and letting the heat just melt off the fat. If you do this, please omit the butter. 

2. Add kim chee and adjust setting to medium-high heat. Continue sautéing vegetables. I usually like to add mushroom to this also, but didn’t have any on hand. I think it gives it a really nice flavor. Button mushrooms or even shiitake will do, just make sure you chop em’ up real good.

3. To make the sauce, in a small bowl, mix together soy sauce, sesame oil, and sriracha. If you do not like yours overly spicy, please go easy on the sriracha! 

4. When the vegetables look like they’re about done (you will be the judge of this), throw in the sauce and keep sautéing. Let it reduce just for a little bit, then add the rice.

5. Make sure to keep constantly mixing and incorporating the rice to the sauce! Your goal is to turn all of the white rice kinda orangey. 

6. Taste it, and adjust! Add salt and pepper if necessary.

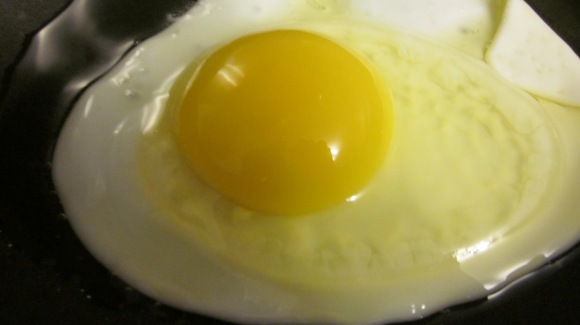
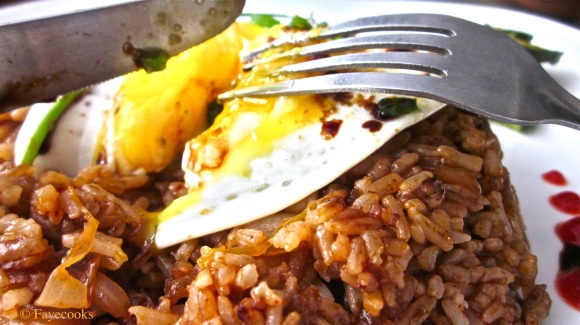
7. If you want, fry an egg and put it on top! Garnish with green onions, sriracha, etc.

Image

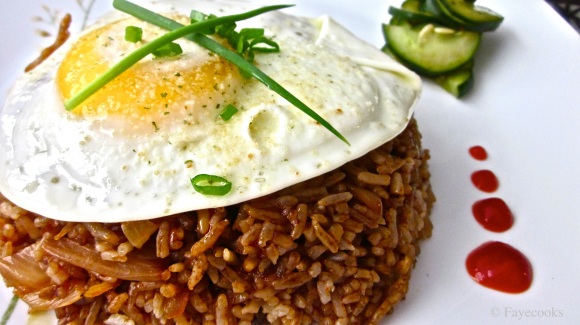
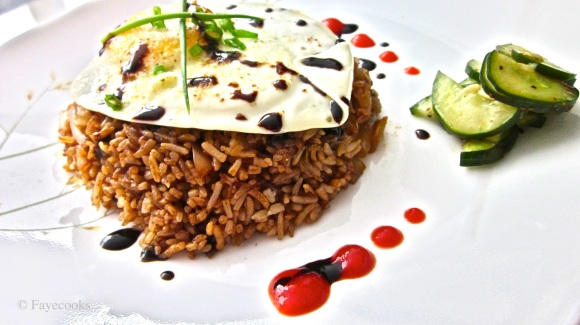
I felt a little Iron Chef-esque today (as you can tell from the pictures). Normally, I would just serve this on a styrofoam plate or just eat it straight from the pan. Although, if you’re wondering, I molded the fried rice using a bowl and flipped it over the plate. I put the egg on top, added a little garnish of green onions, dotted sriracha on the sides, and added pickled cucumbers that I made the day earlier. The hoisin sauce (black splatters) is totally optional. I personally didn’t like it on there. I just thought it looked good. 

Image

Image

So I think I’ve said it all! If you have any questions, feel free to leave a comment!

Happy eating!
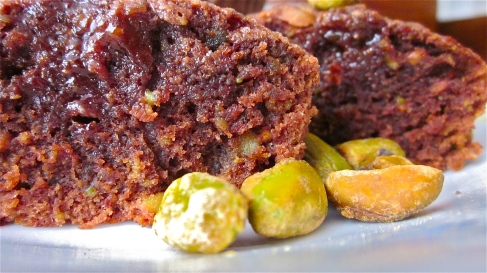
Nutella Pistachio Brownie Bites

Aside from cooking savory foods, I also love love love to bake! Baking is a great stress reliever and it definitely helps me to get my mind off of things. Something about crushing garlic, melting chocolate, kneading dough, or sautéing vegetables allows me to go into a state of meditation and have that anxiety just melt away (like the chocolate). Today was one of those days that I just needed to relieve stress. So I experimented a bit and made, as the title suggests, something with Nutella.

Image

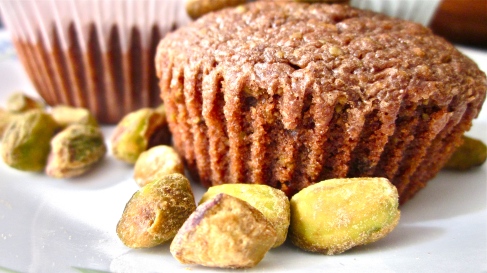
I actually had half of the work load done for me, since Nutella is soooo decadent in and of itself! So if you’re a pistachio lover, you may like this recipe for the texture and that small hint of pistachio flavor, but the chocolate-hazelnut deliciousness practically overpowers everything, which I’m not complaining about!

Enjoy~

Note: I think half of the fun in making these cooking blogs is the photoshoot I do along the way. Here are some of the good ones!

Image

Image

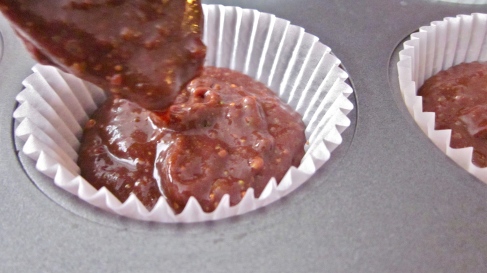
^ This was the hardest part for me; Made me realize that I need to invest in an ice cream scoop.

Image

Ingredients

1/4 cup butter (if unsalted, add a pinch of salt)

1/4 cup white, granulated sugar

3/4 cup Nutella

2 medium eggs

5 tbsp. All-purpose flour

1 cup ground pistachios

(Recipe yields about 9-10 brownies)

Instructions

1. Preheat oven to 350 degrees F. Line a 12 servings-cupcake tin with liner and set aside.

2. Grind 1 cup of pistachios in a food processor or a blender until they are well-ground (grind, grinded?) Be careful not to over blend though. Set aside.

3. Cream butter and sugar together in a bowl with a whisk or a hand-held mixer.

4. Add the eggs and continue mixing until well combined.

5. Add Nutella and continue to mix. This is the part where you switch to a spatula!

6. Sift flour (or not) into the mixture and fold with the spatula. Add the pistachios that you have set aside and fold into the batter.

7. Spoon the batter (or use an ice cream scoop) into the liners. Fill about 1/2 – 3/4 of the way. This recipe should yield about 9 brownie cakes. Bake for 15 minutes. No longer! The top should be semi-dry, and when you do the toothpick trick, well– it won’t really work because the inside will be gooey. Just a disclaimer. 🙂

8. Eat that sucker!

If you’re wondering where the baking soda or baking powder is, well I didn’t have any when I made these, and they turned out perfectly fine! I was actually surprised that they turned out the way they did (very moist on the outside, and gooey in the middle) considering the minimal ingredients. Then again, I am a college-student. No need/time to get fancy-schmancy with things. Hope you guys give it a try!

Image

Happy eating!

Let’s give it a try.

Just like with everything I get myself into these days, whether it be joining a club, learning an instrument, or volunteering, it seems like boredom plays a major role in these new endeavors. I guess trying new things just keeps me from becoming bored, and it allows me to be continually challenged in some way. I started this blog because one, I was bored and two, I wanted to try something new. From the title, one might assume that it is a cooking blog– which is correct! (and for the most part, this blog will consist of my own recipes, as well as tasty-lookin’ goods that I found on Pinterest and the interwebs– but mostly Pinterest). However, as much as I love, love, love, to cook, I also enjoy other things which, I hope, will be evident through this blog.